Google Linkage
Summary Explanation
To incorporate Google linkage, it is necessary to create an OAuth client in your Google Cloud Platform account and set up the linkage with SaaSus. By setting up the linkage with SaaSus, the button 'Sign in with Google' will appear on the sign-in page of SaaSus, and Google linkage can be enabled. It should be noted that to make the app publicly available, it is necessary to apply to Google. It takes about one week to review the application after submission. (If there are any mistakes, guidance will be sent by email, so please take corrective action)
Google linkage procedure consists of:
- Creating OAuth Client in Google Cloud Platform
- Linking Google Cloud Platform and SaaSus account
- Confirmation on Google Authentication Performance
- Application for Usage
Creating an OAuth Client in Google Cloud Platform
Confirming the Information for Google Linkage
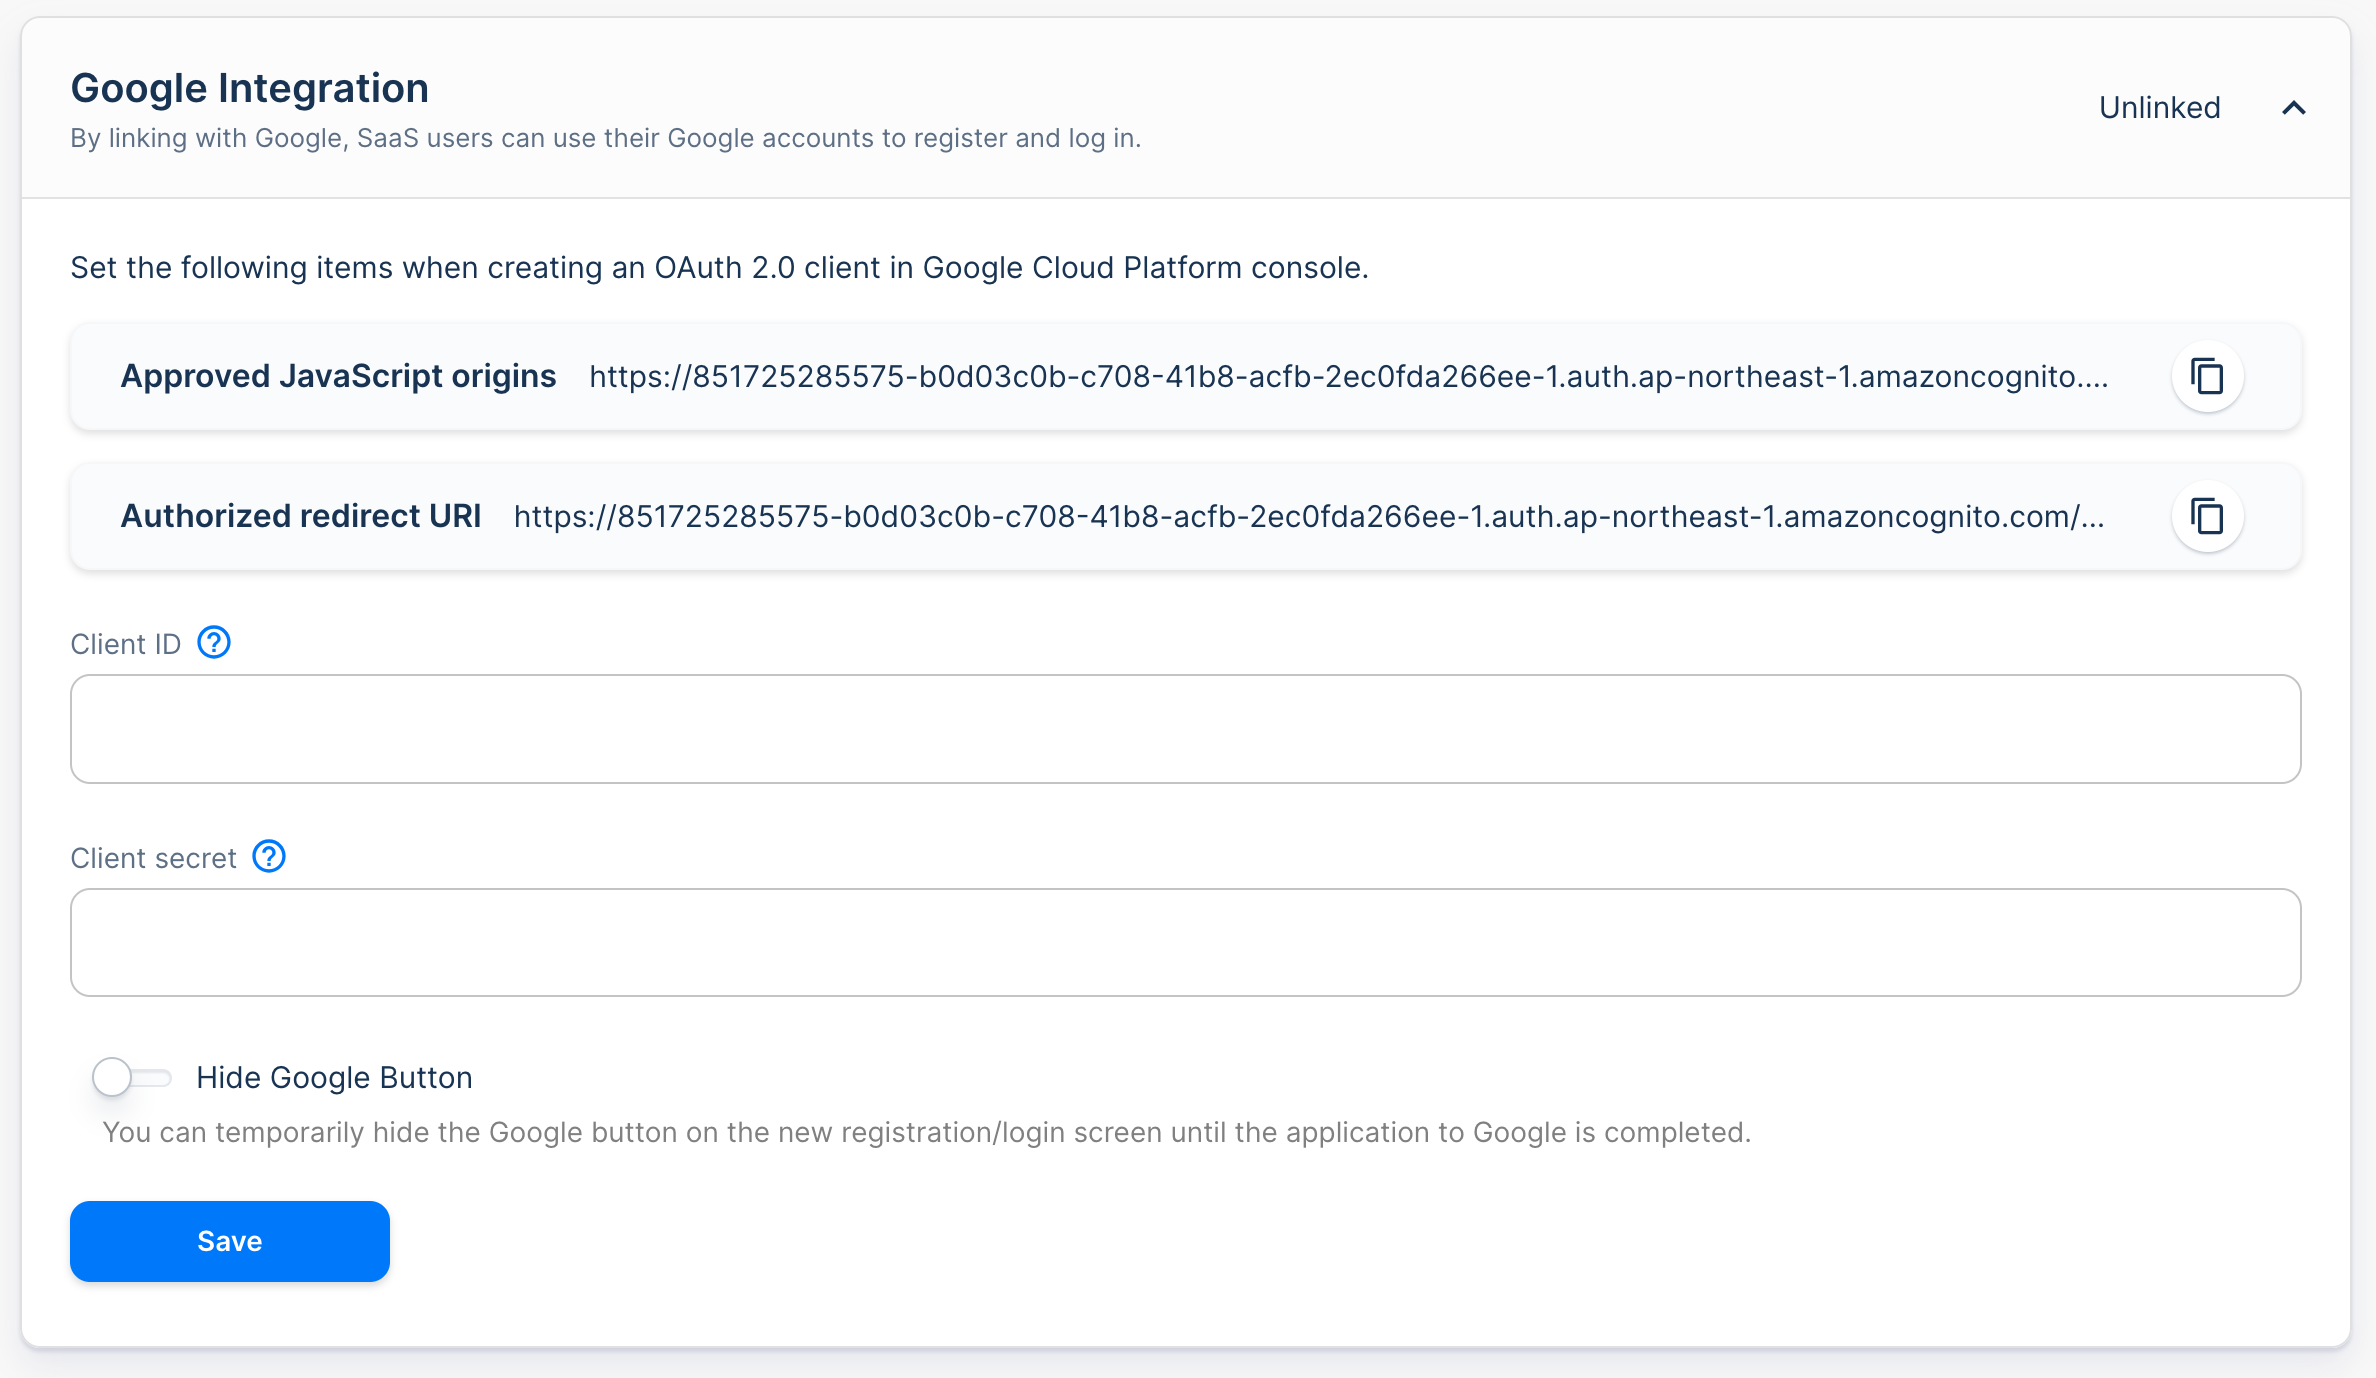
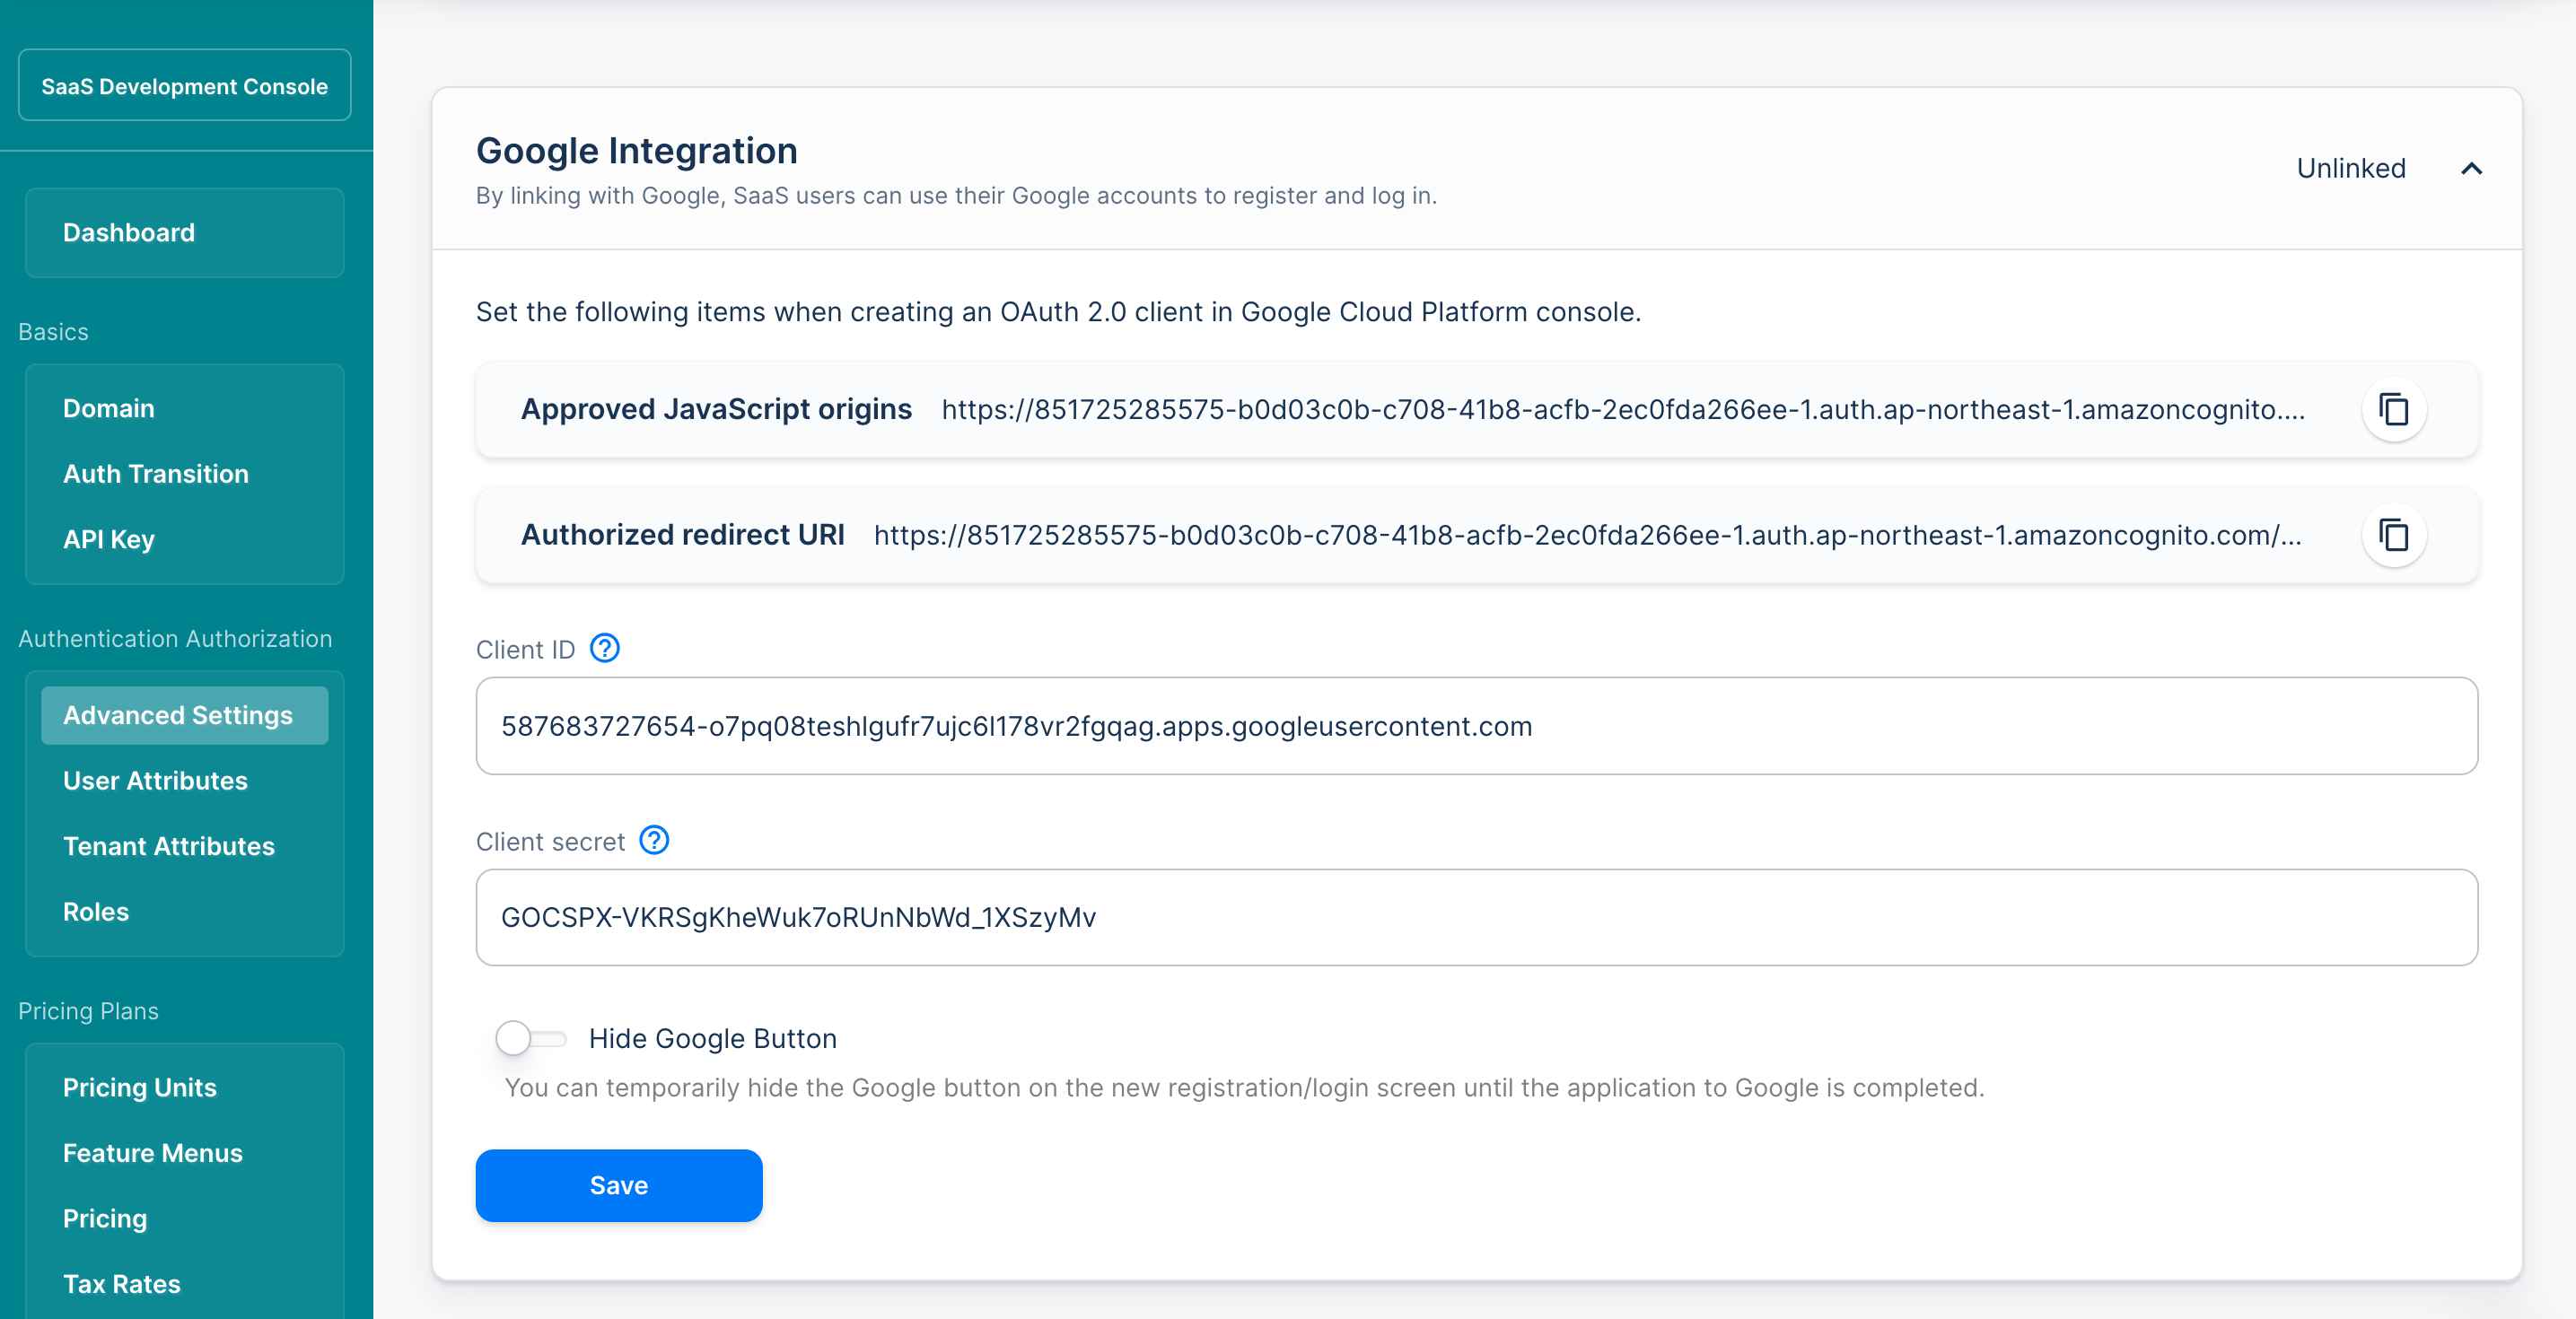
Sign in to SaaSus management console. Open "Authentication Authorization" > "Advanced Settings". Check the Google linkage in Authentication tab.
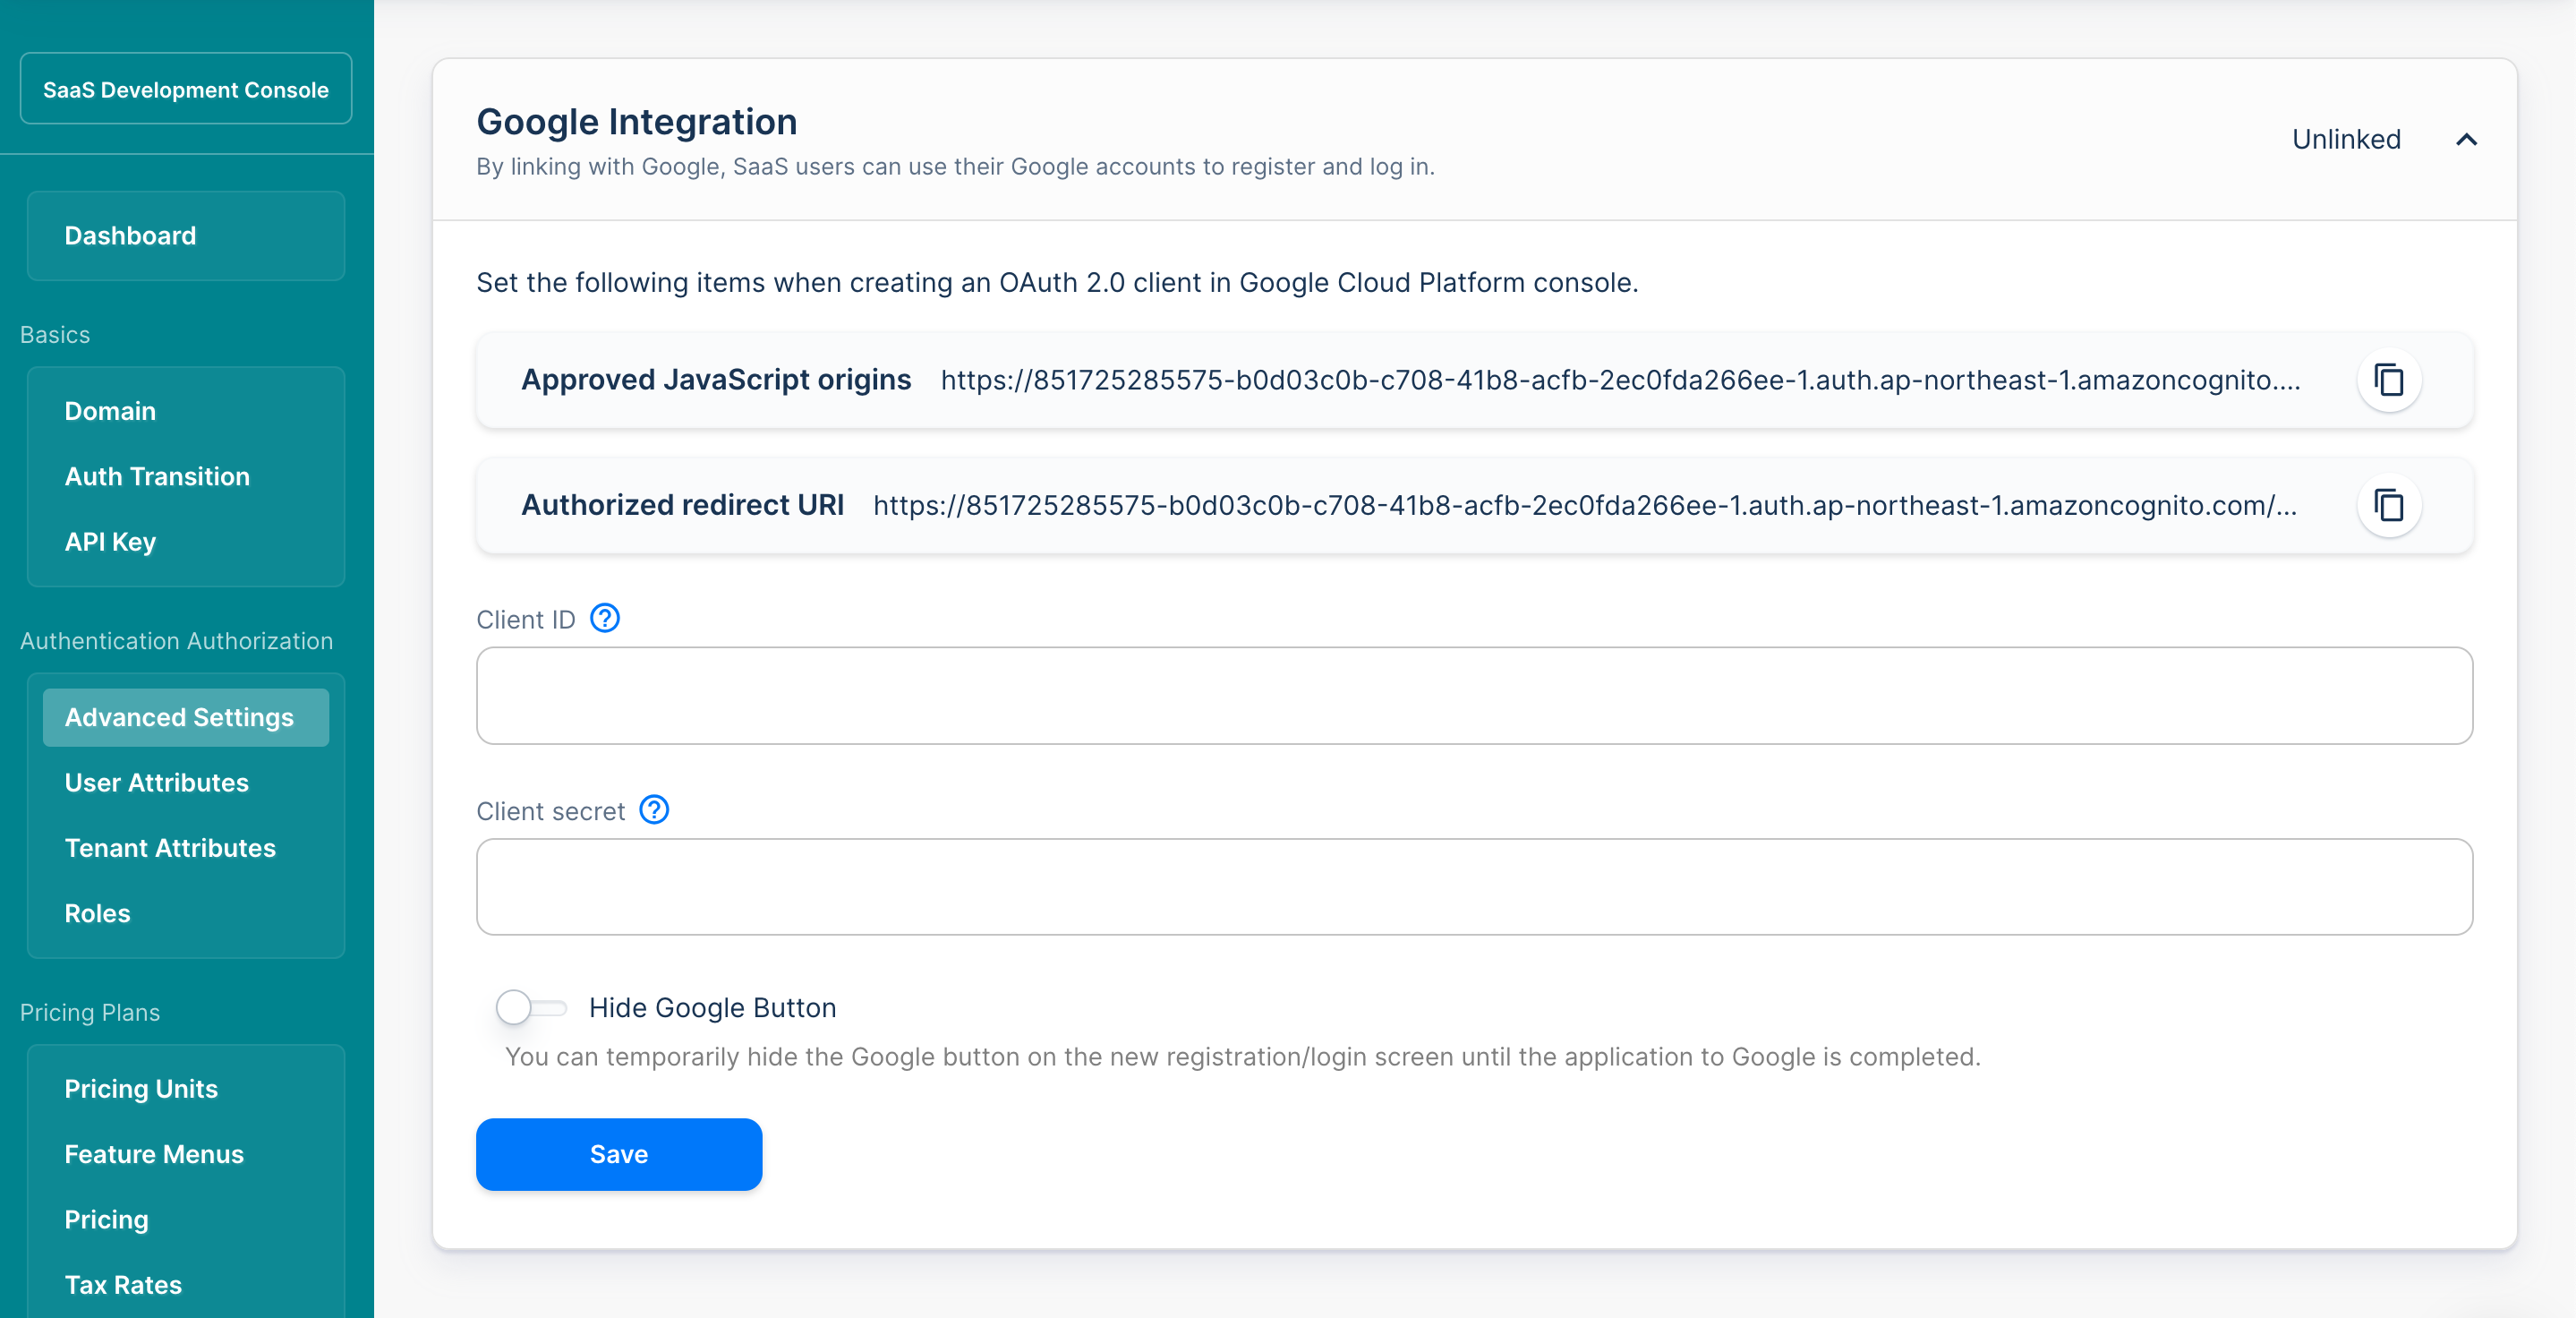
Make a note of the following items as they are required when creating an OAuth client in Google:
- Approved JavaScript Origin
- Authorized Redirect URI
Agreeing to the Use of OAuth
Sign in to Google Cloud Platform account (create a Google Cloud Platform account if you don’t have one) for managing Google linkage.
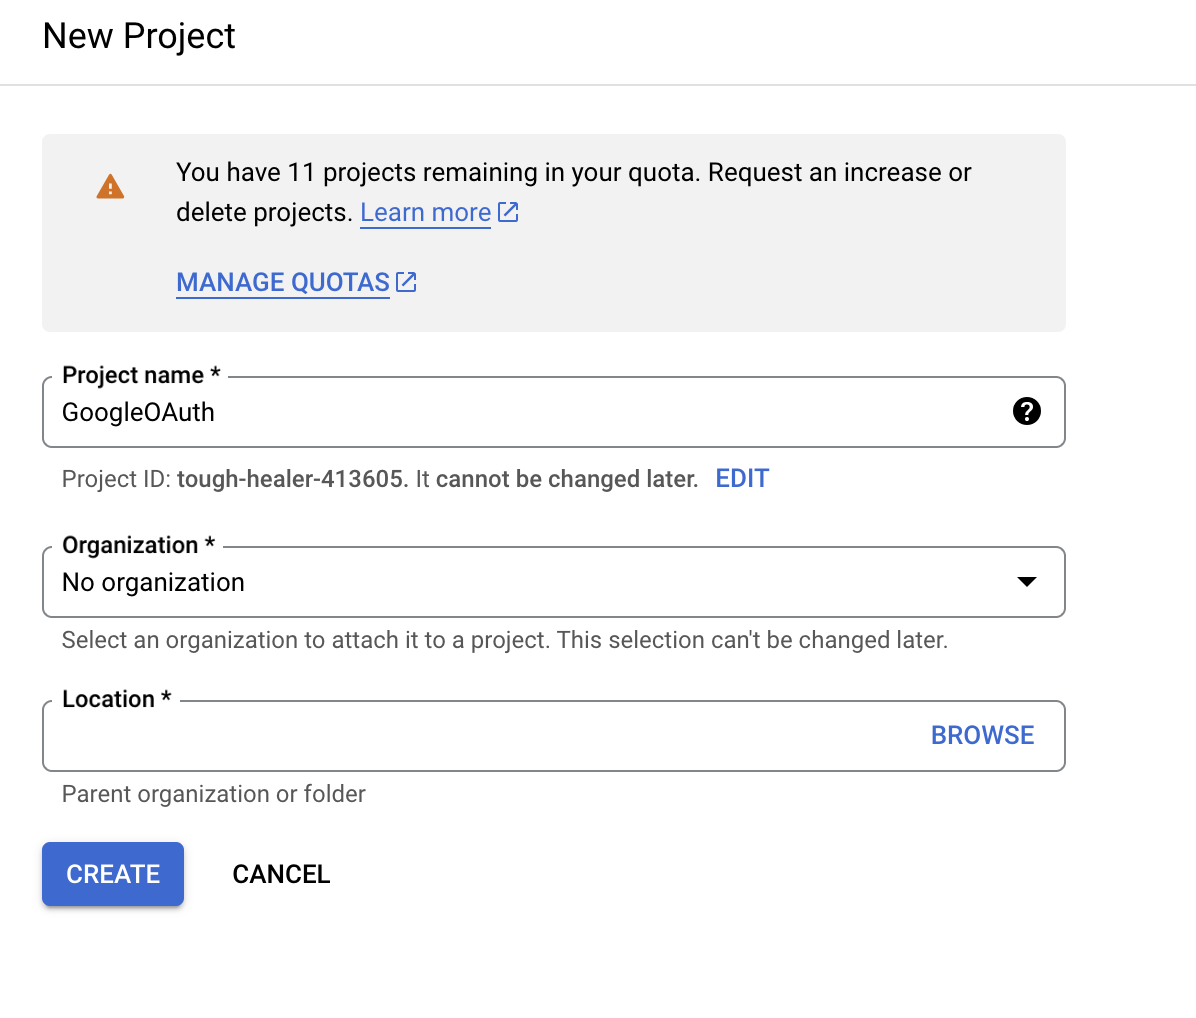
Create a new project for Google linkage.
Open New Project, and create a new project.
Project Name: GoogleOAuth (or any other easy-to-understand name)
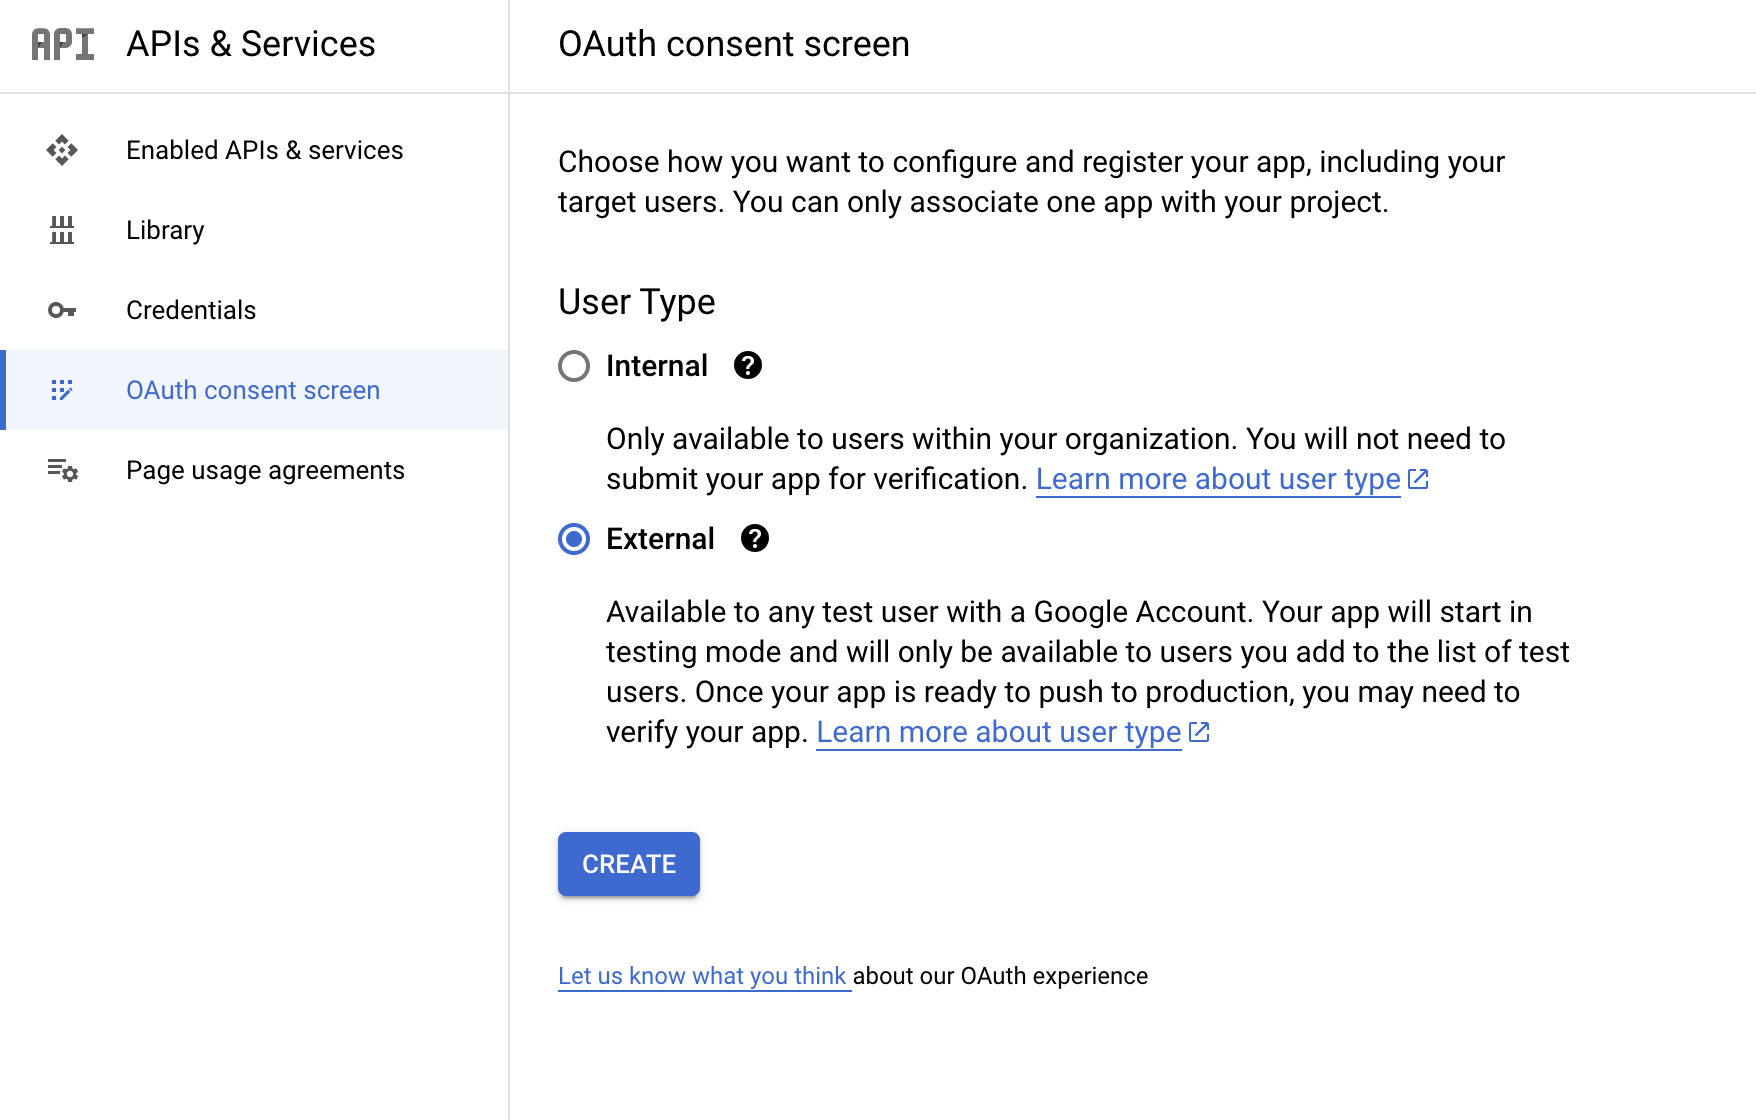
Open 'APIs & Services' - 'OAuth Consent Screen'
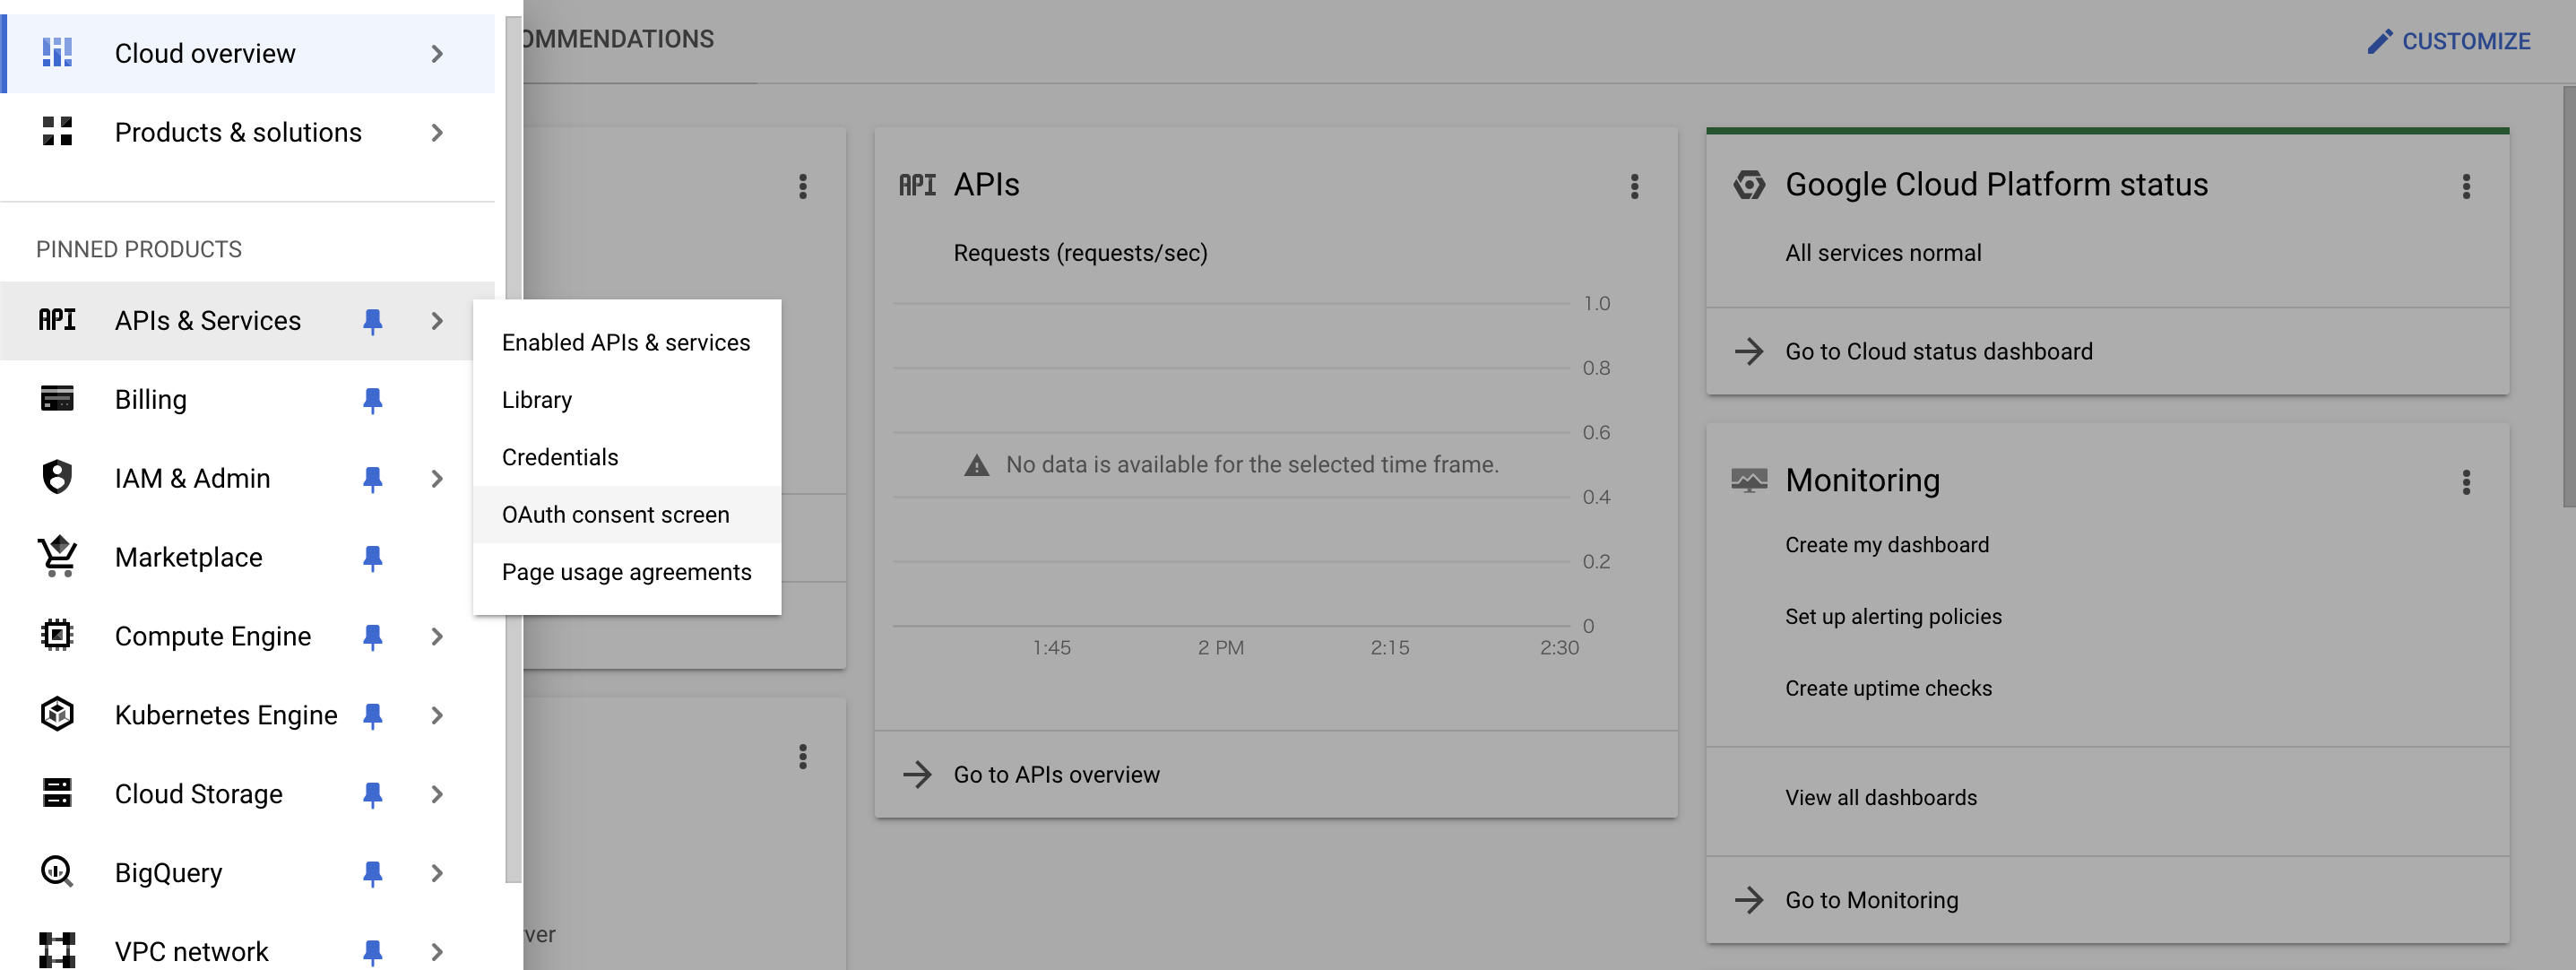
Select 'External' as User Type and press 'Create' button
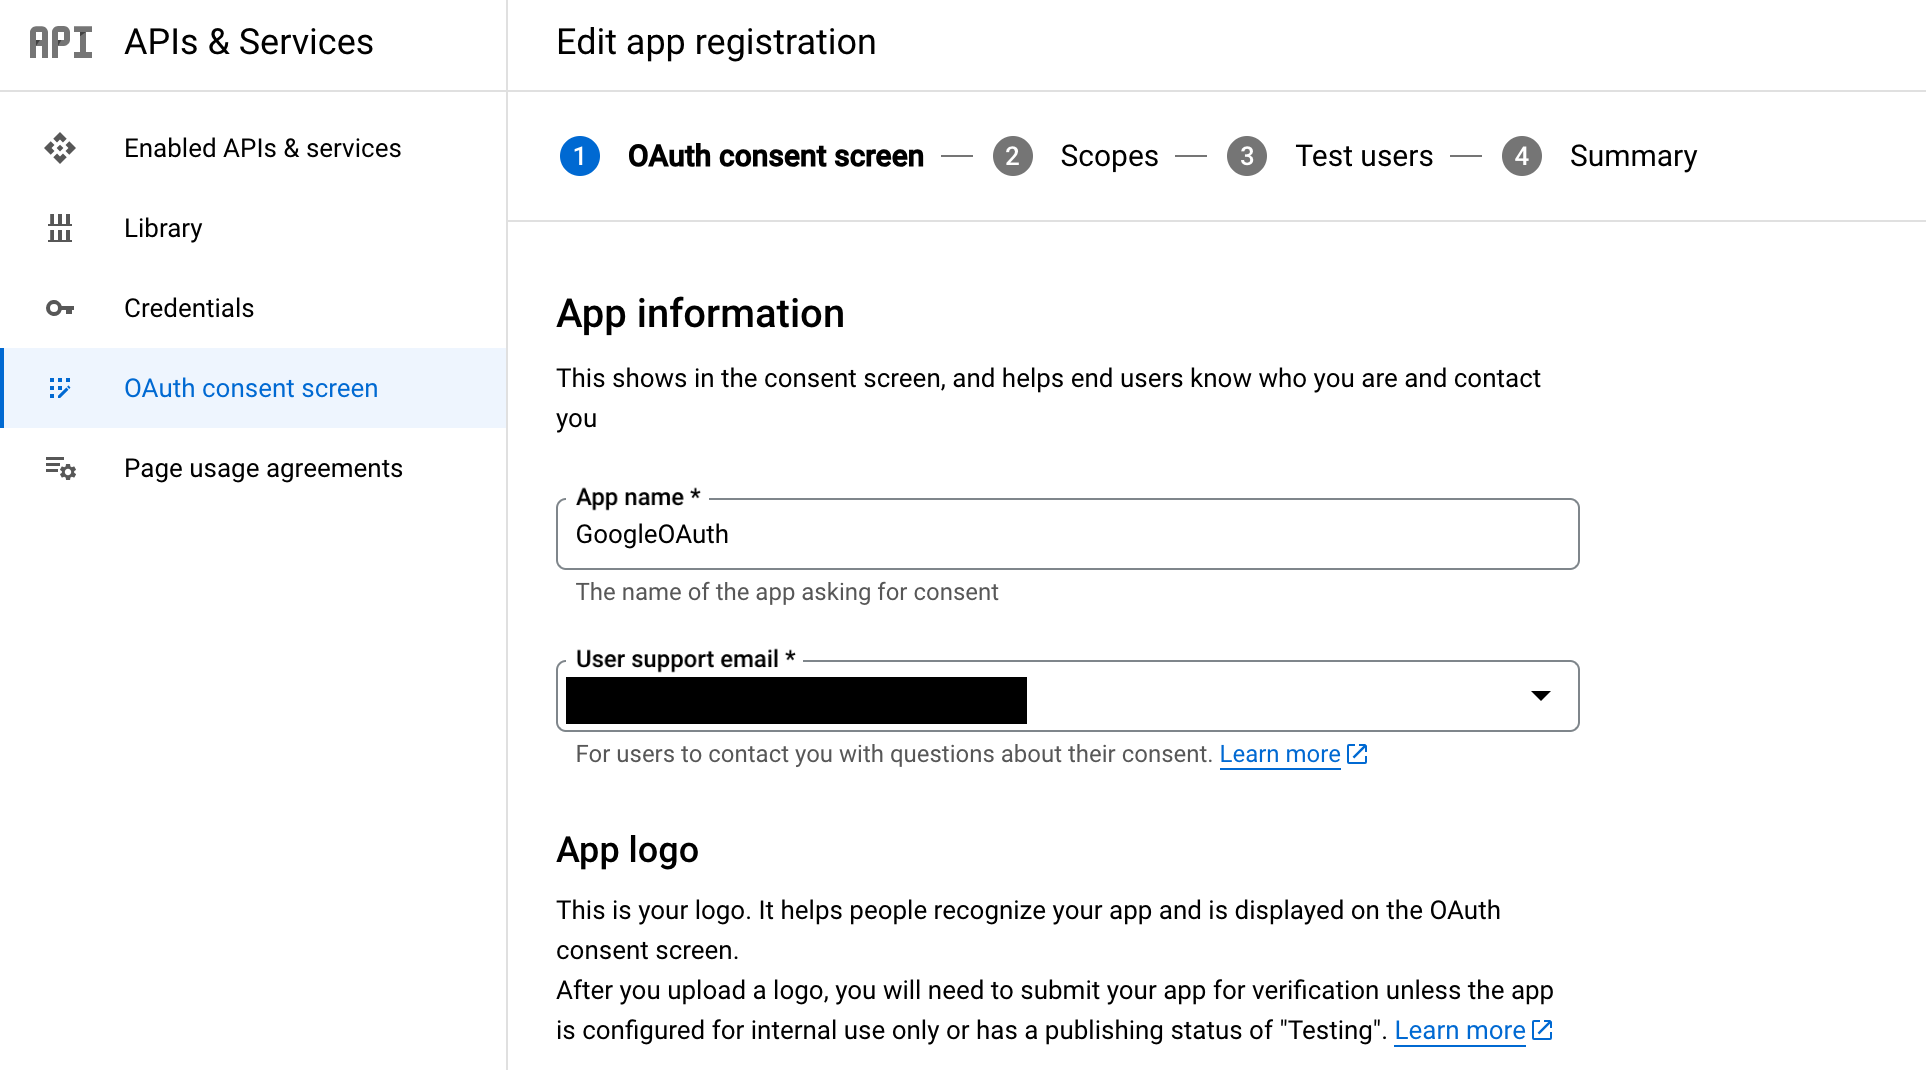
Input following information and select 'Save and Continue' button
- App Name: GoogleOAuth
- User Support Email: any email address
- Developer Contact Information: any email address
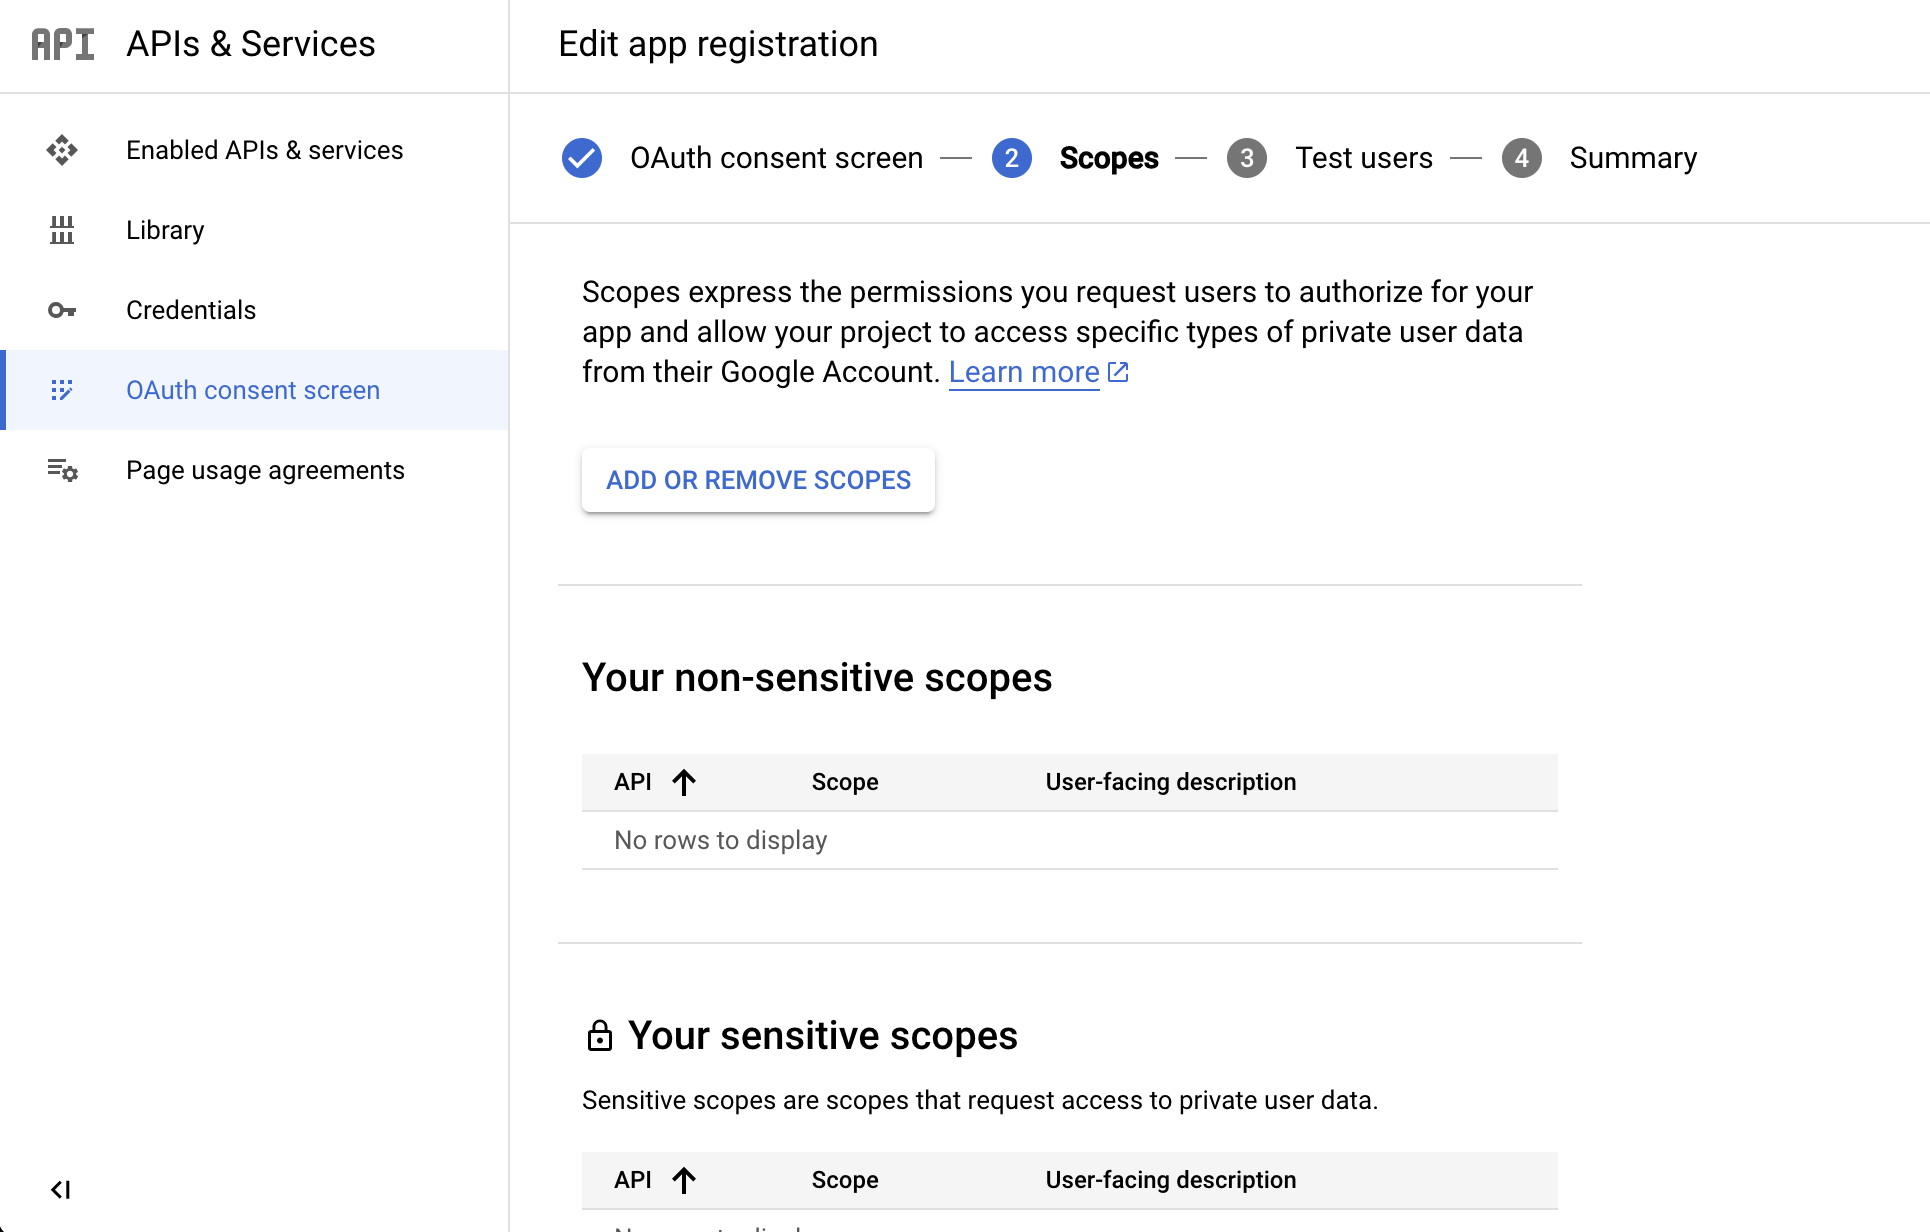
Select 'Save and Continue'
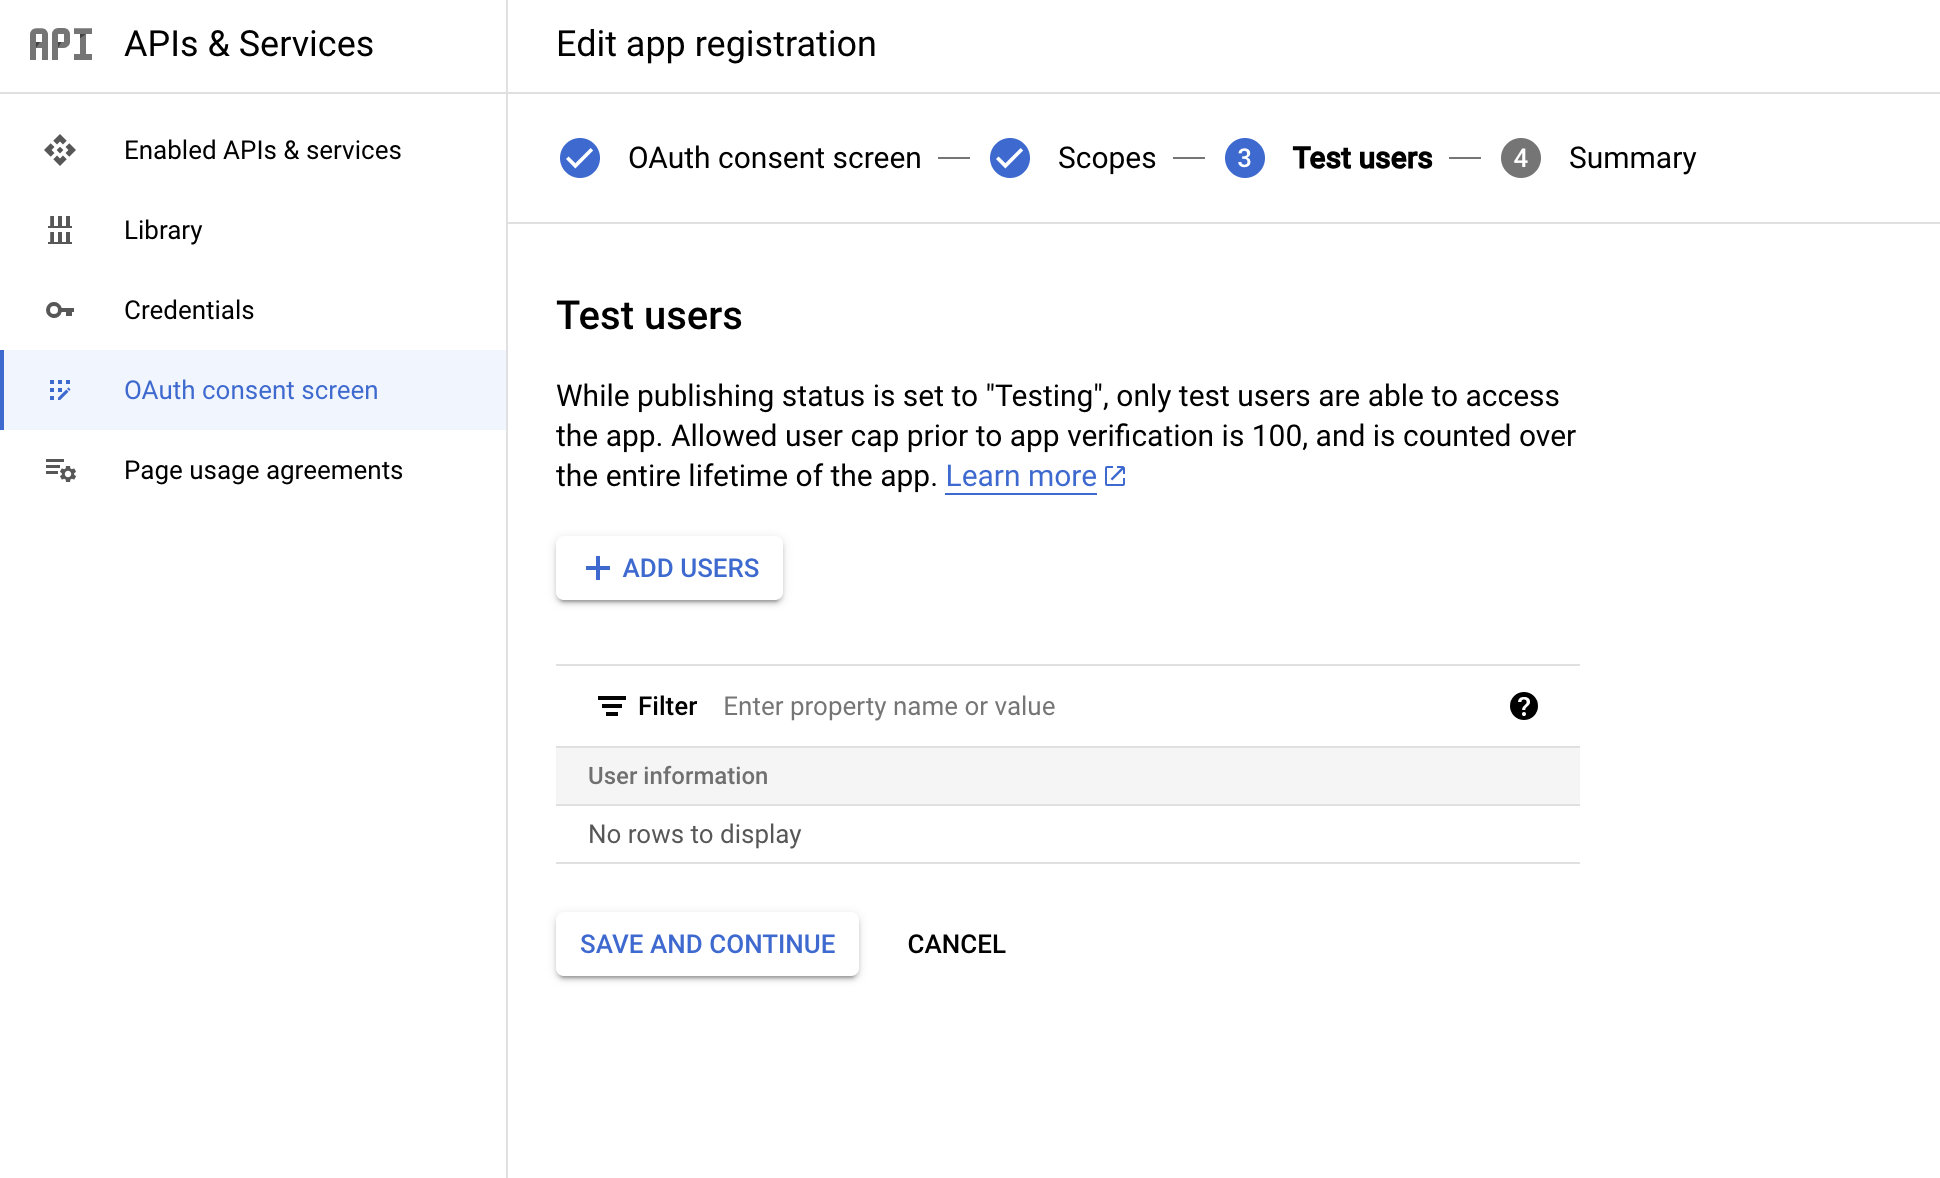
Add test users and select 'Save and Continue' Only the users set here can login when the public status is 'Testing'
Creating OAuth Client
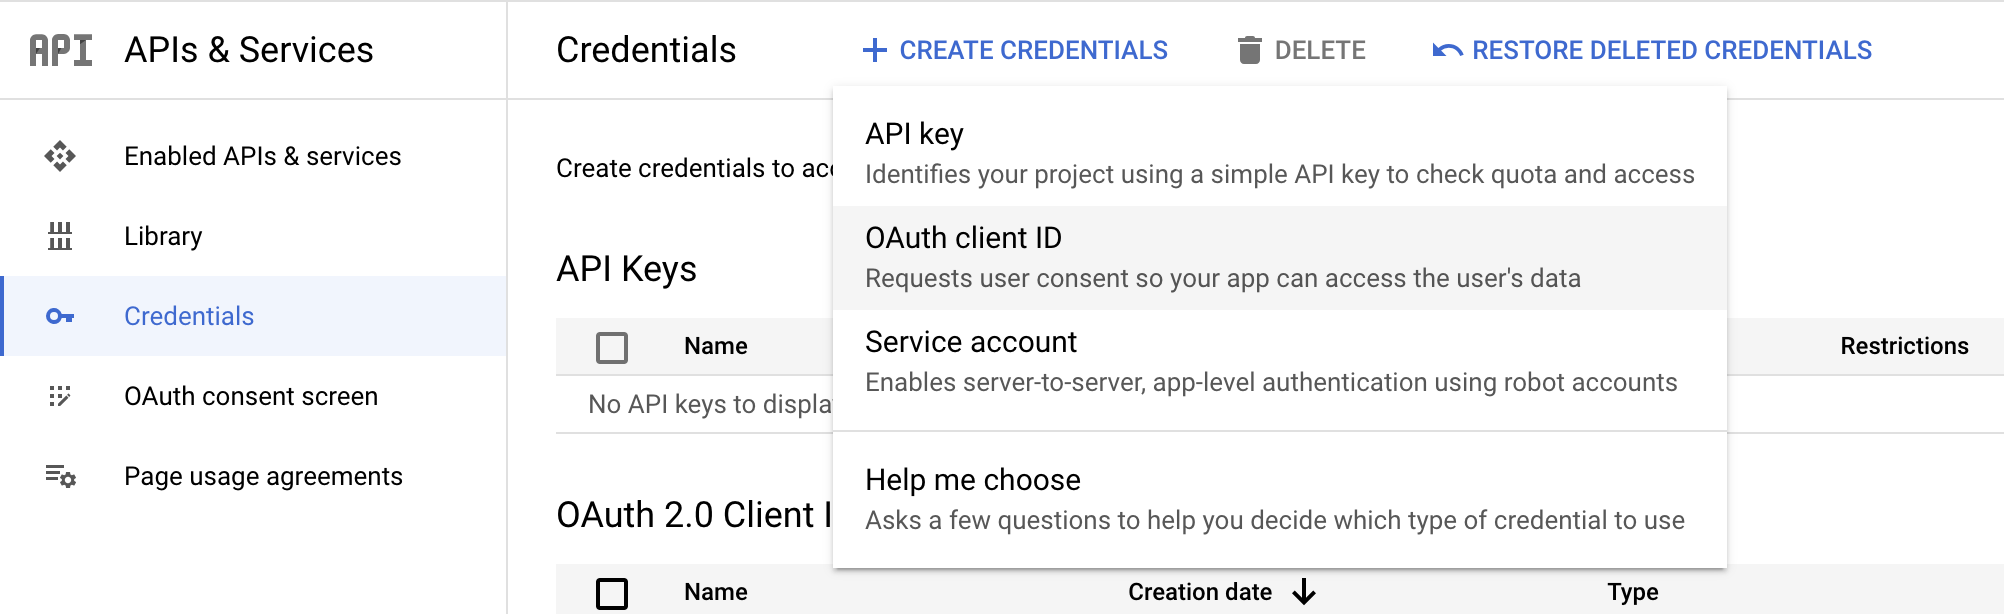
Open 'APIs & Services' - 'Credentials'
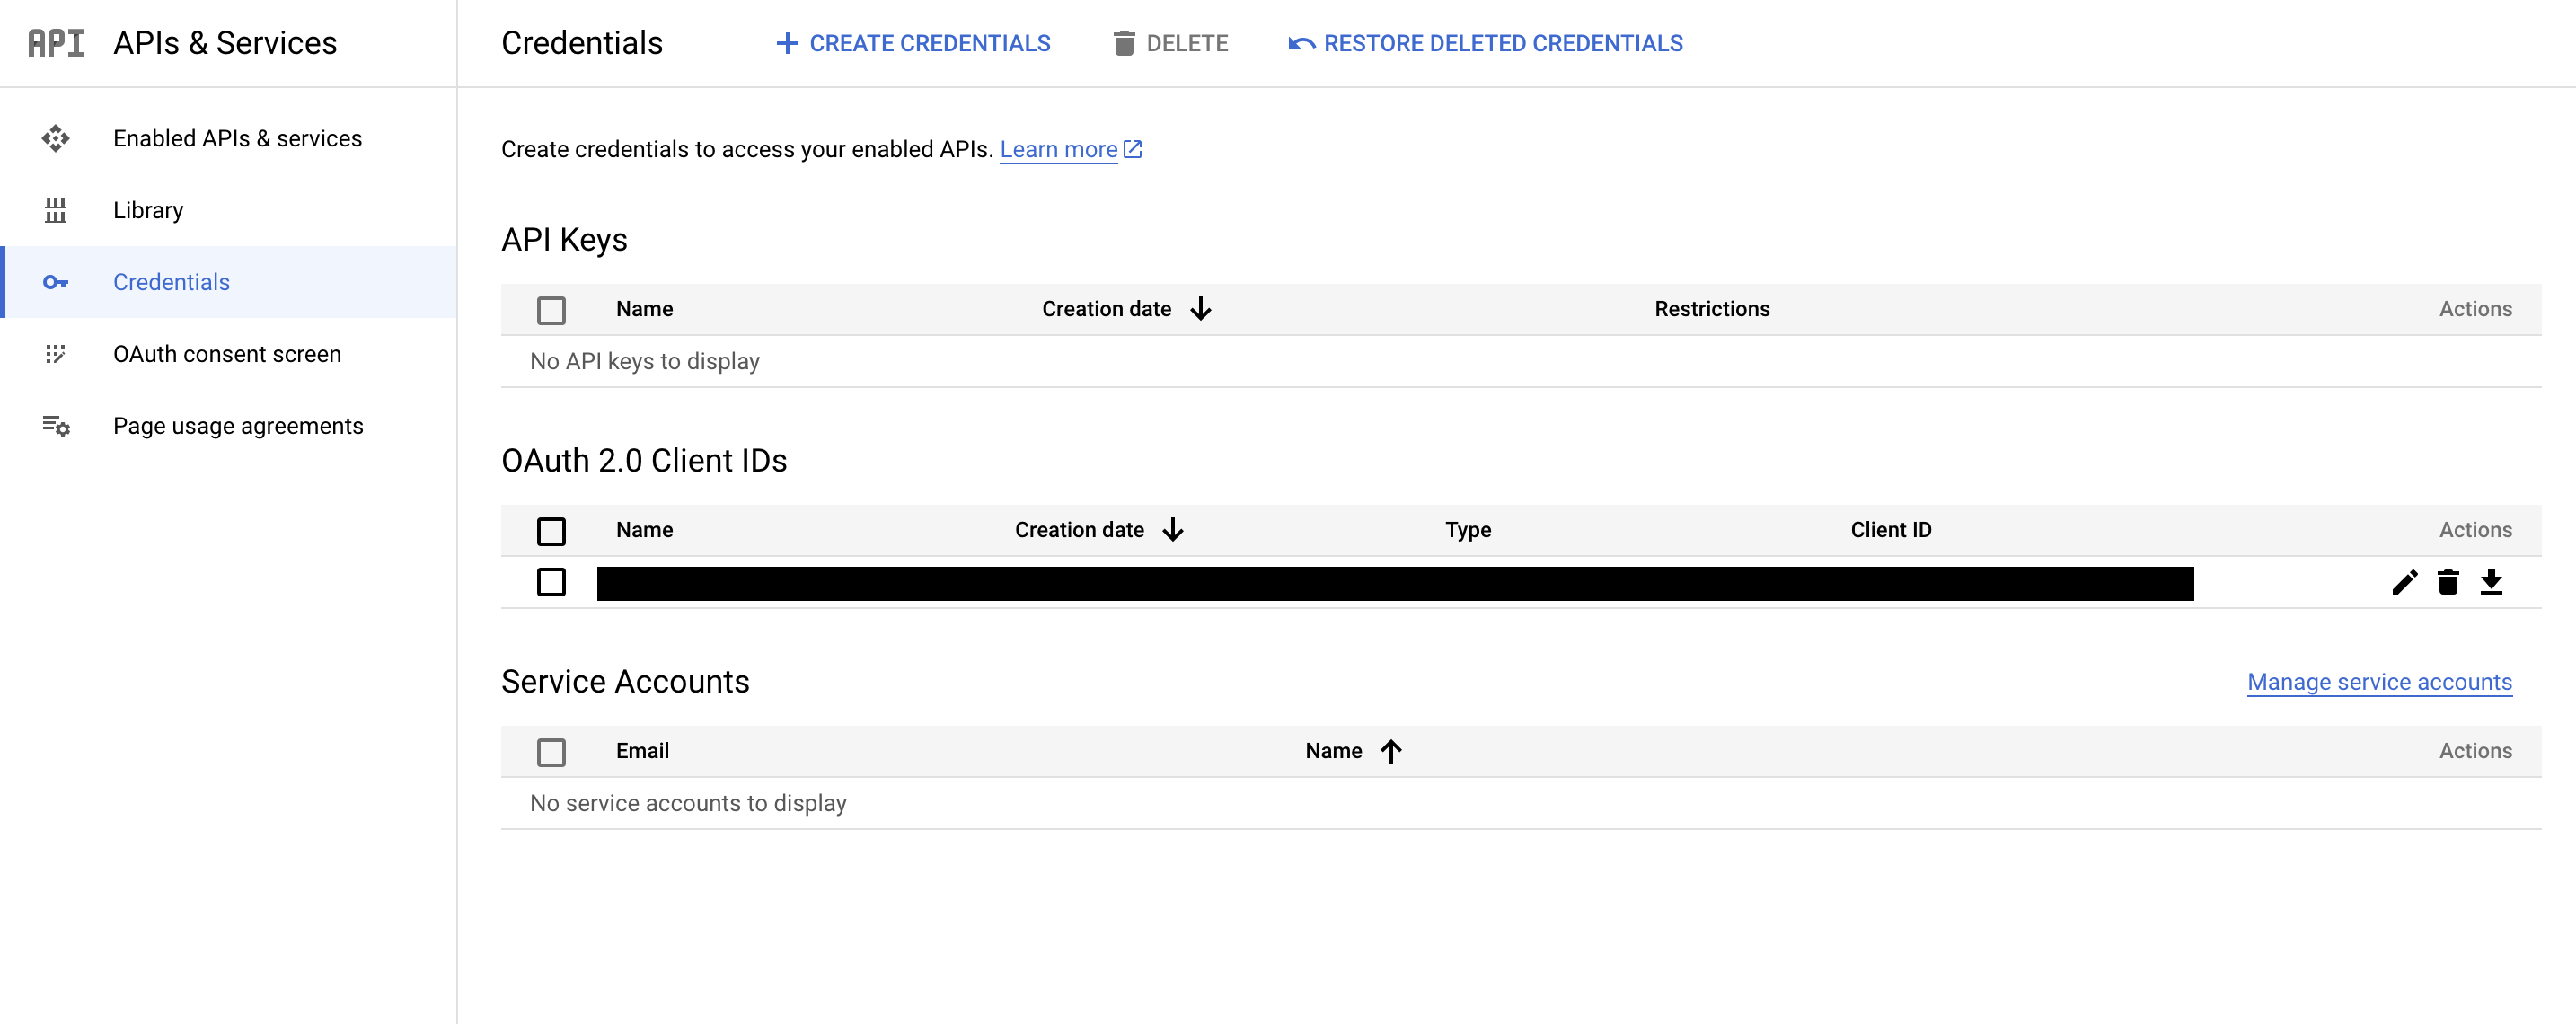
Select 'Create Credentials' - 'OAuth client ID'
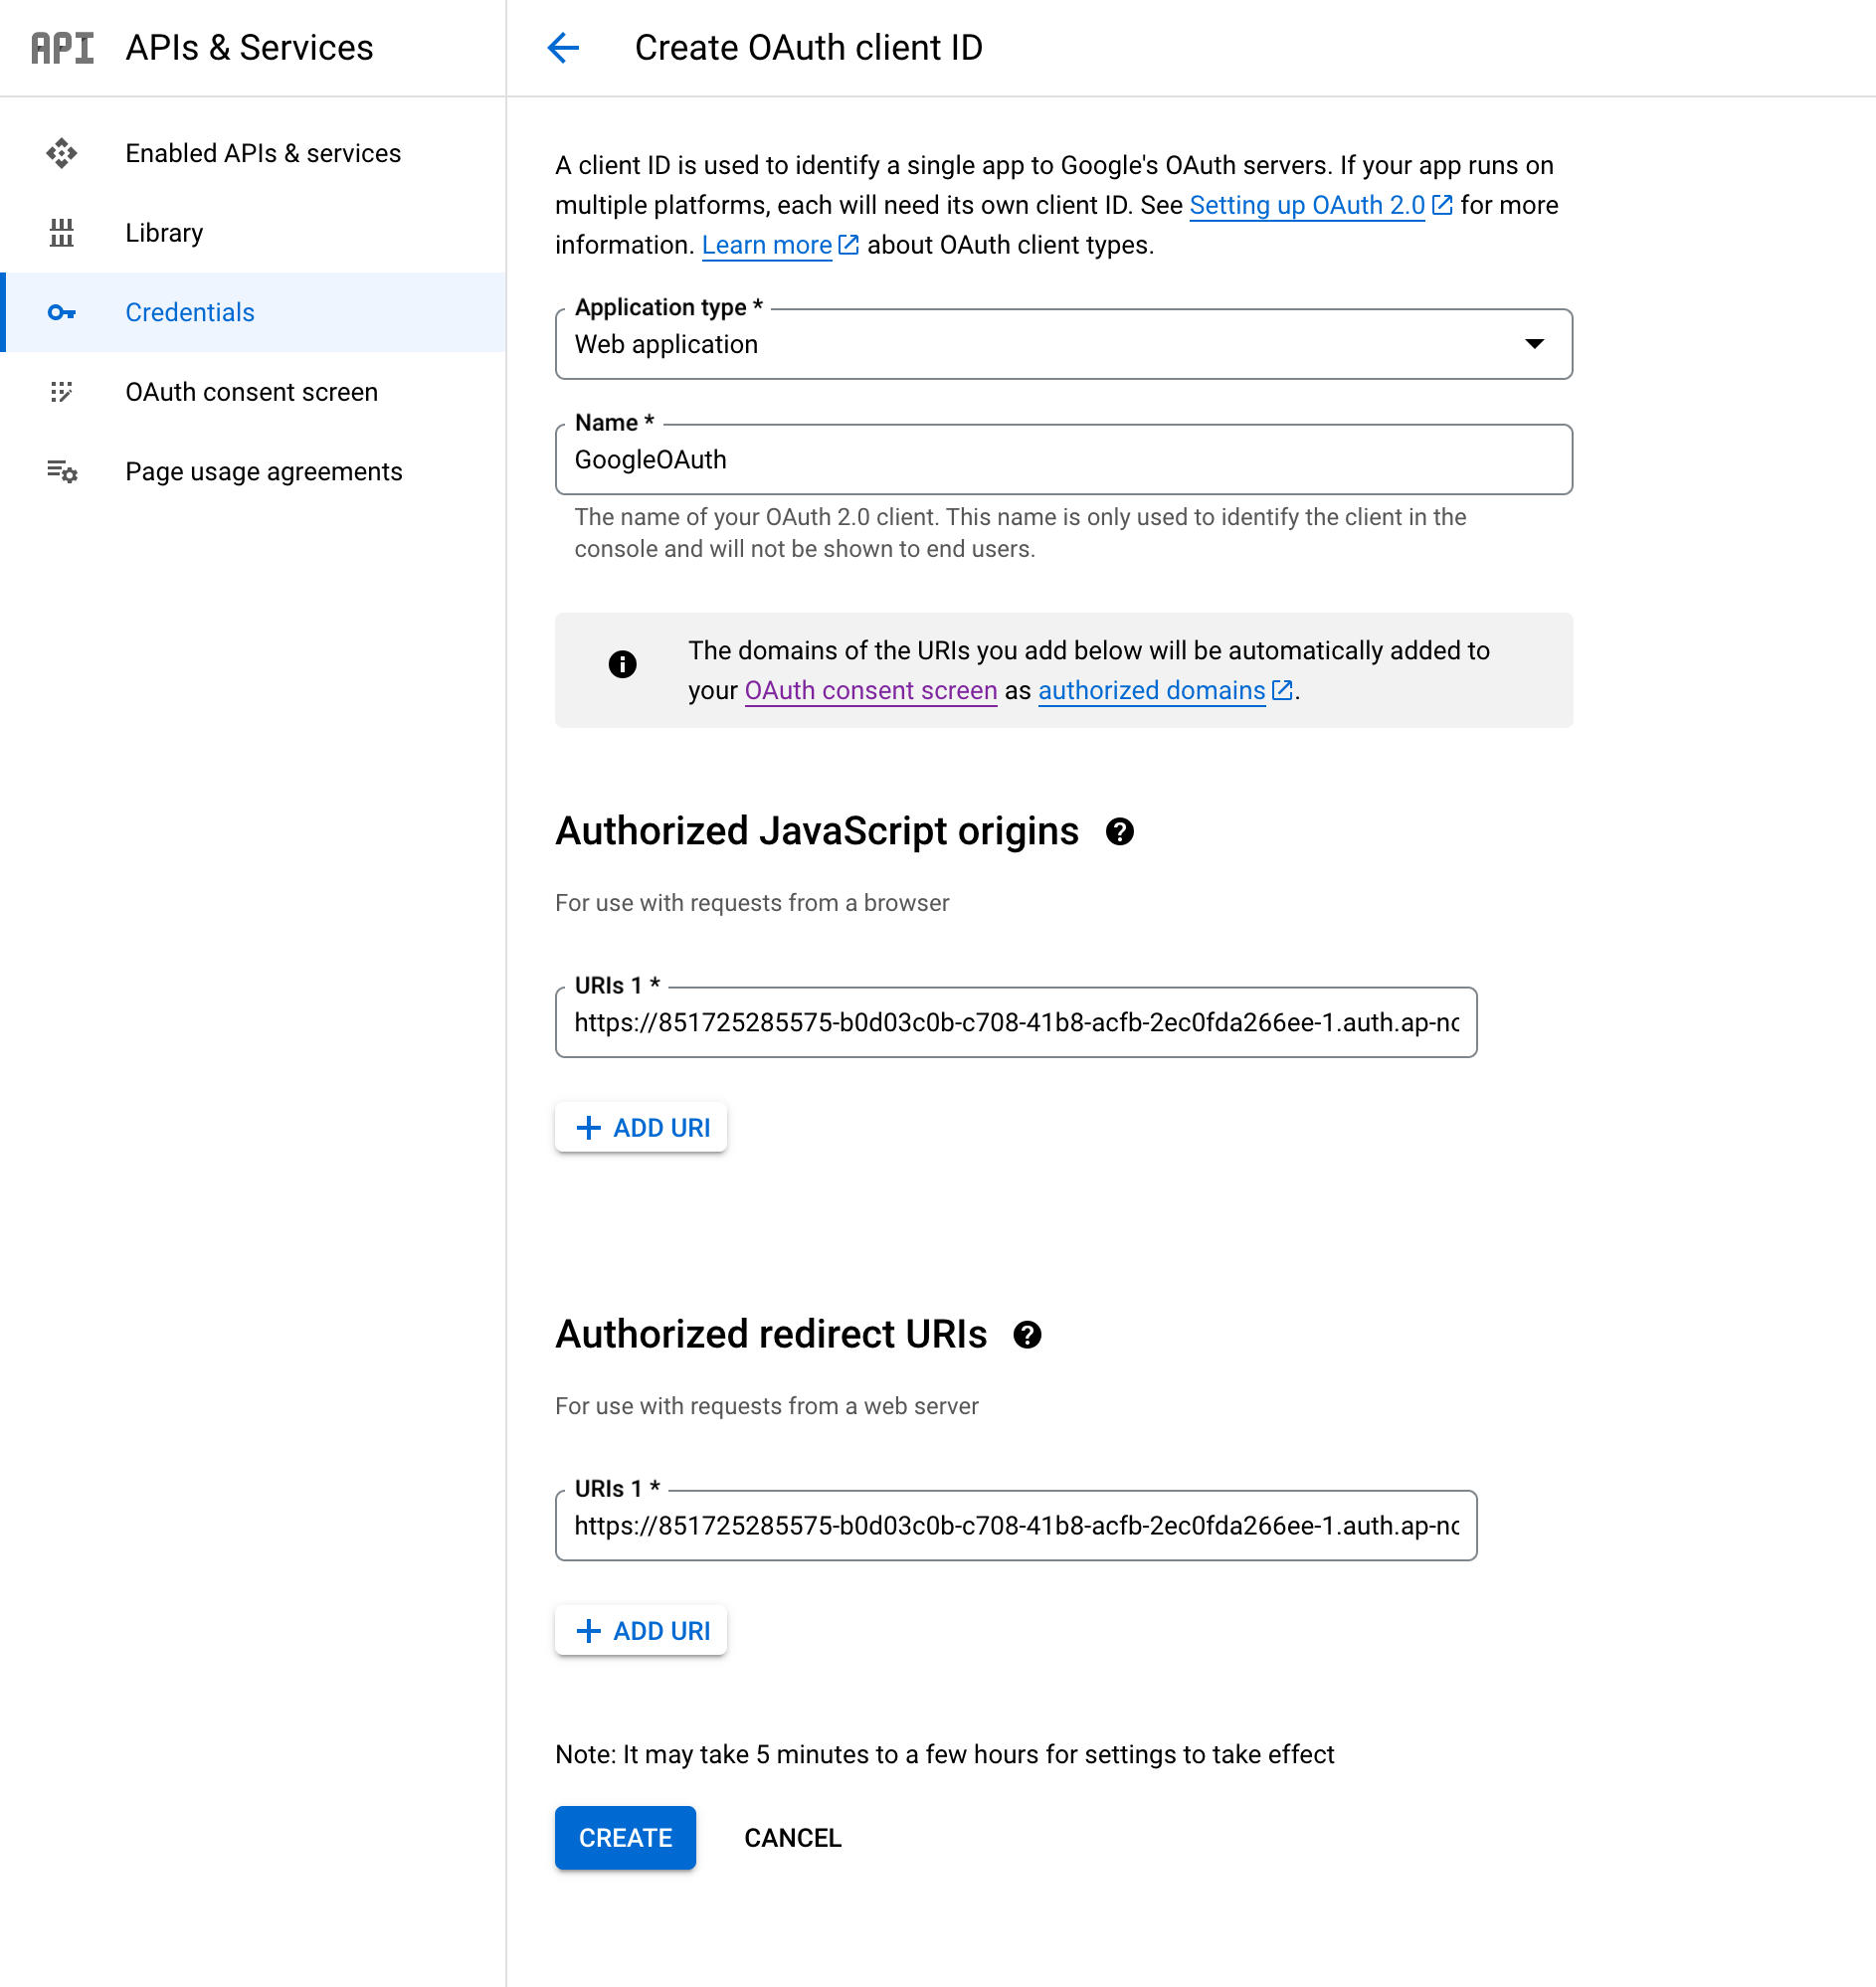
Enter the following information and select 'Create' button:
- Application type: Web Application
- Name: GoogleOAuth (any easy-to-understand name is fine)
- Authorized JavaScript origins: <the value confirmed on SaaSus management console>
- Authorized redirect URIs: <the value confirmed on SaaSus management console>
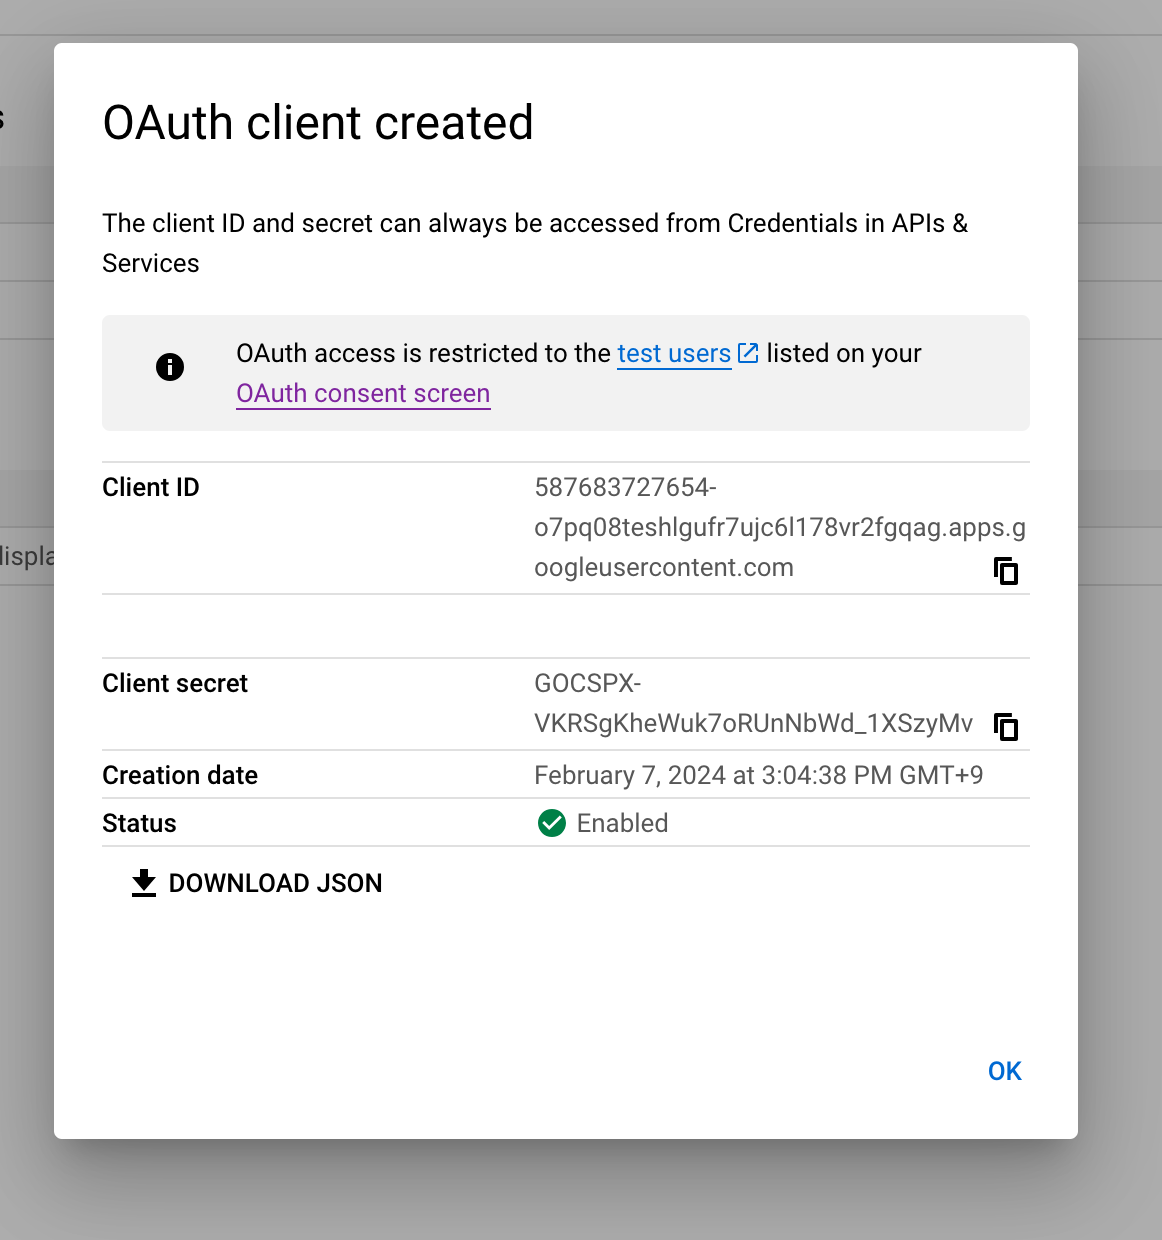
The OAuth client has been created.
Make a note of the following items for setting up SaaSus management console.
※ It is recommended to select 'Download JSON' and save the downloaded file.
- Client ID
- Client Secret
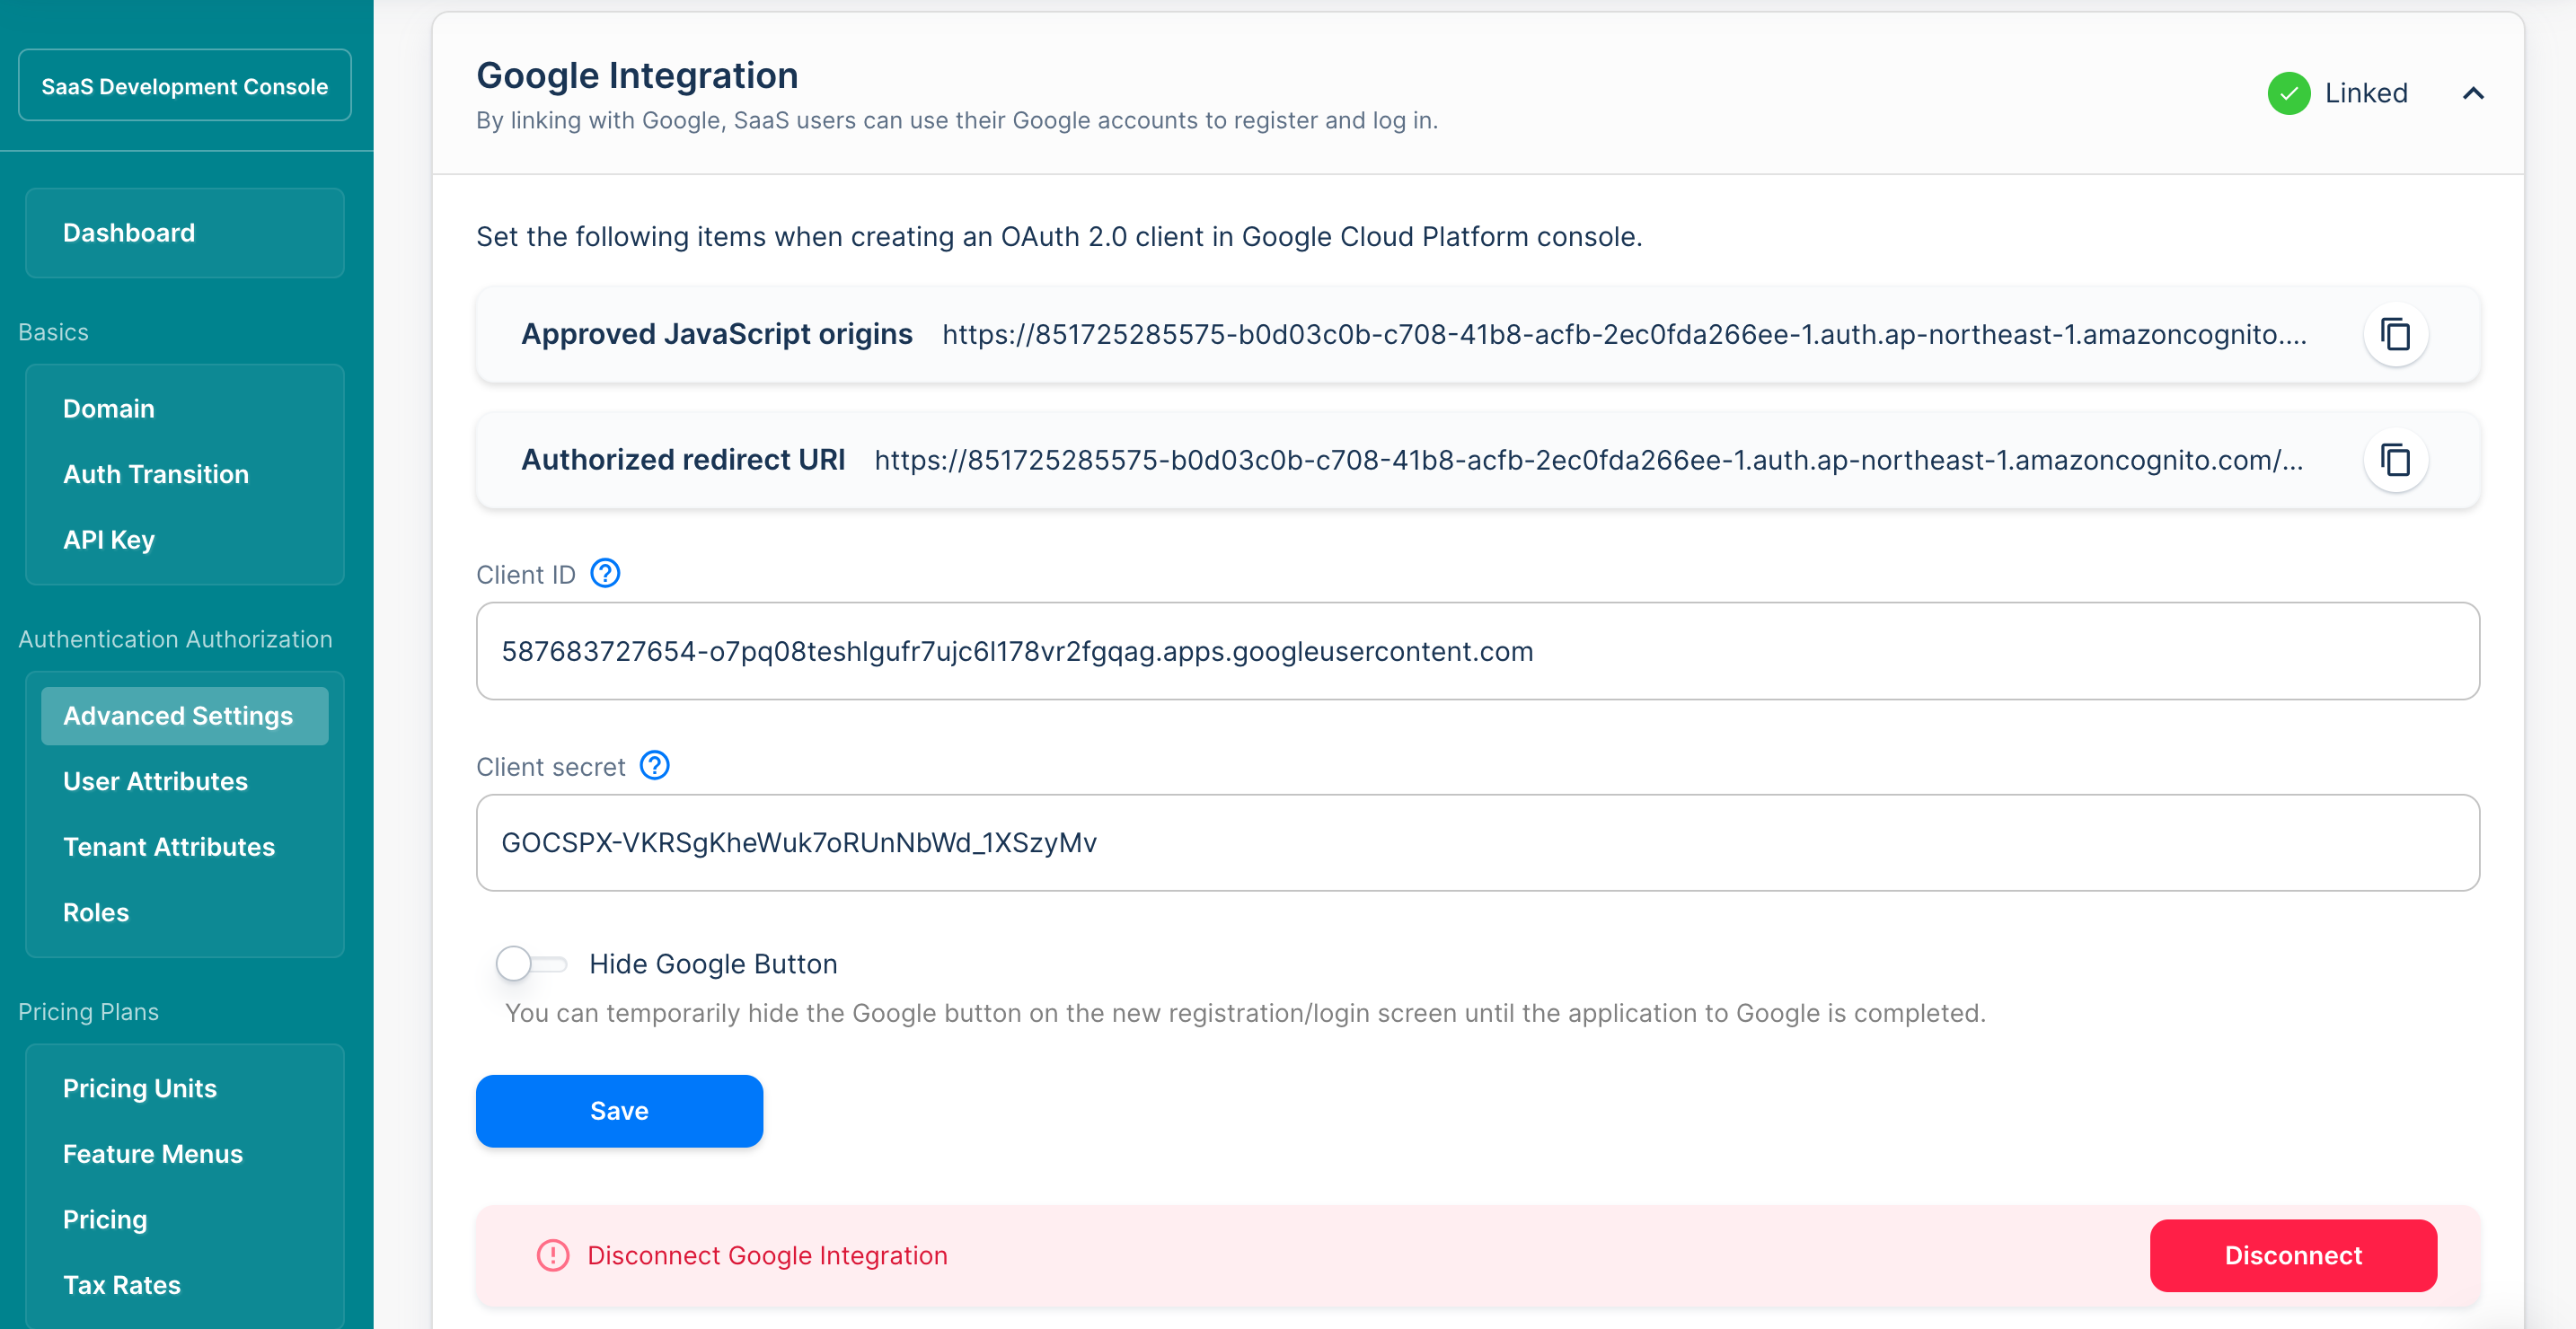
Linking Google Cloud Platform and SaaSus Account
Enter the following and select 'Save' button:
- Client ID: <The value confirmed on the screen after creating the OAuth client>
- Client Secret: <The value confirmed on the screen after creating the OAuth client>
If 'Linked' is displayed, then the operation is completed.
Confirming Google Authentication Operation
We will confirm the operation of the 'Sign with Google' button displayed on the sign in screen.
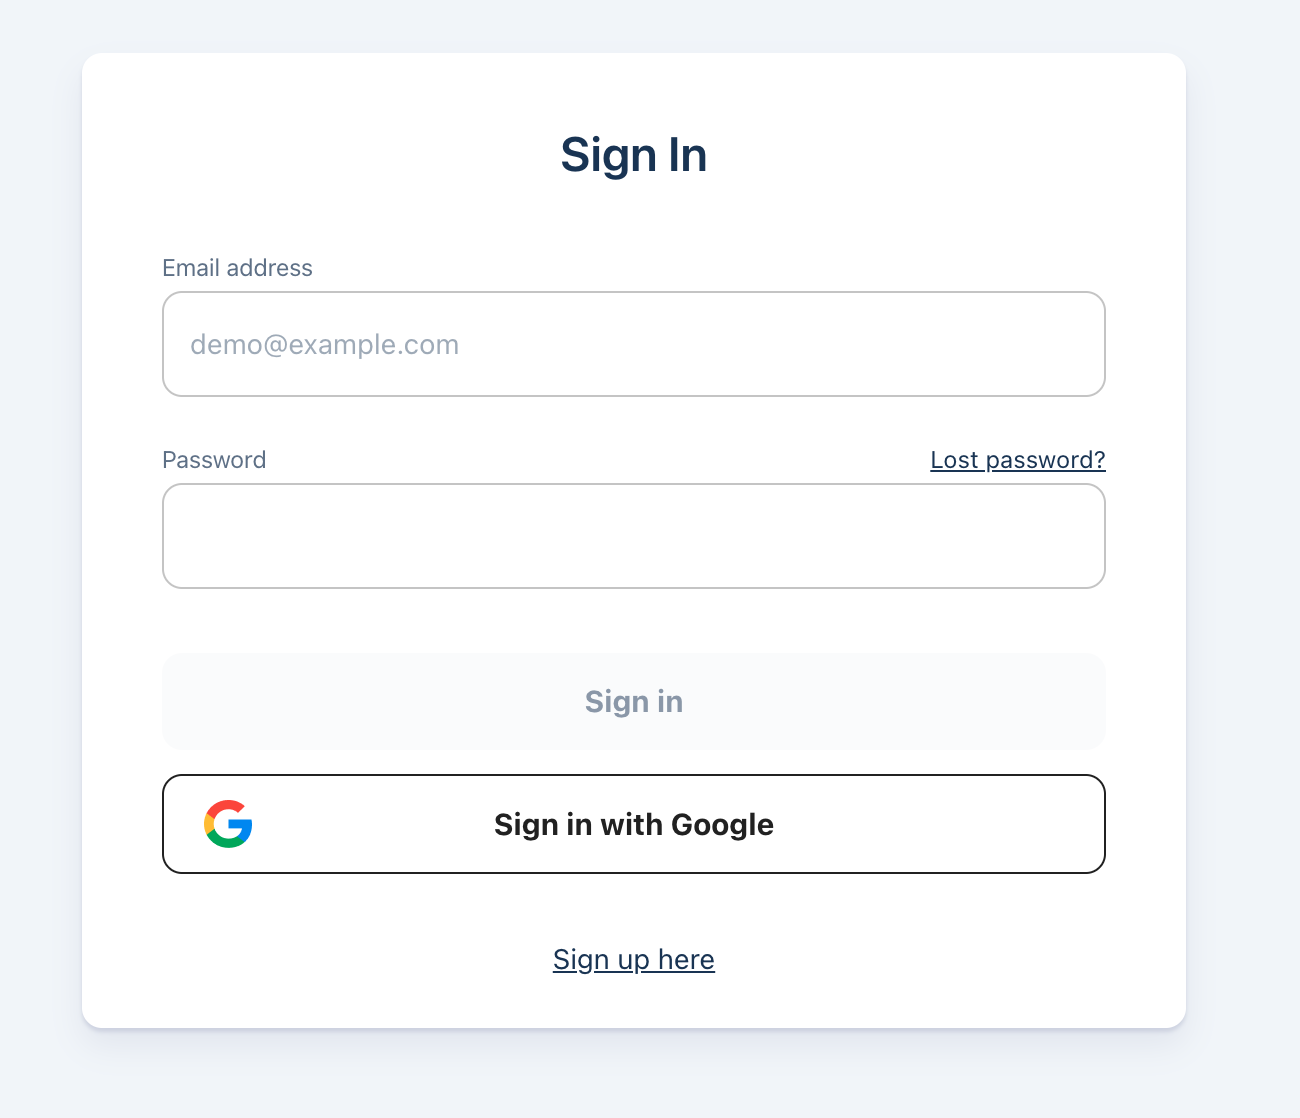
About 'Sign in with Google' operation:
- Screen Displayed
- Sign in screen
- New registration screen (when self-sign-up is enabled)
- Actions when Sign in with Google
- If self-sign-up is enabled
If the account does not exist, an account will be created automatically and signed in. - If self-sign-up is not enabled
If the account does not exist, it will not sign in.
- If self-sign-up is enabled
Application for Use
Coming soon.