Overview of Login Screen and Main Screen of SaaSus Platform
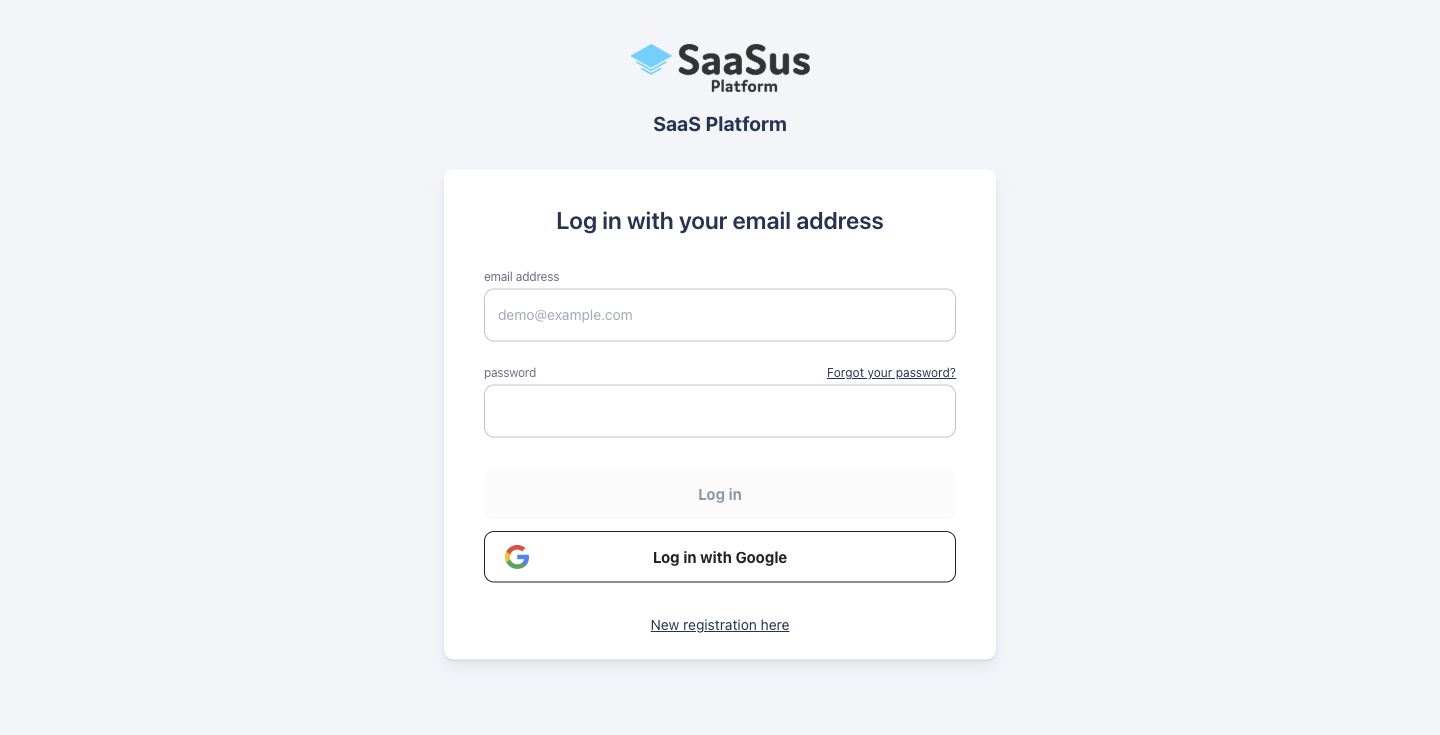
1. Login Screen
When accessing the SaaSus Platform, you will first see the login screen. You can either log in with your email address and password, or authenticate via your Google account.
2. Tenant and Console Selection Screen
After the first login, you will be prompted to select a tenant and choose whether to proceed to the SaaS Development Console or the SaaS Operation Console.
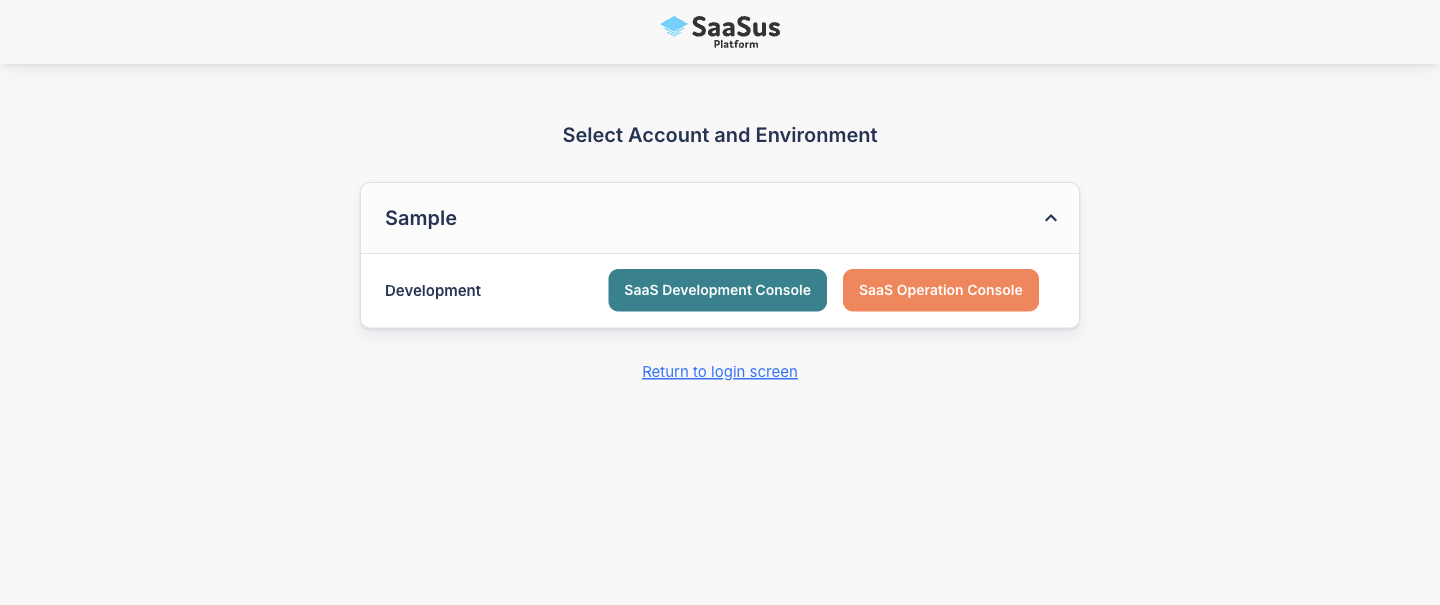
From this screen, you can navigate to the appropriate console based on your purpose:
- SaaS Development Console: Configure and set up SaaS features
- SaaS Operation Console: View and manage users, tenants, and billing information
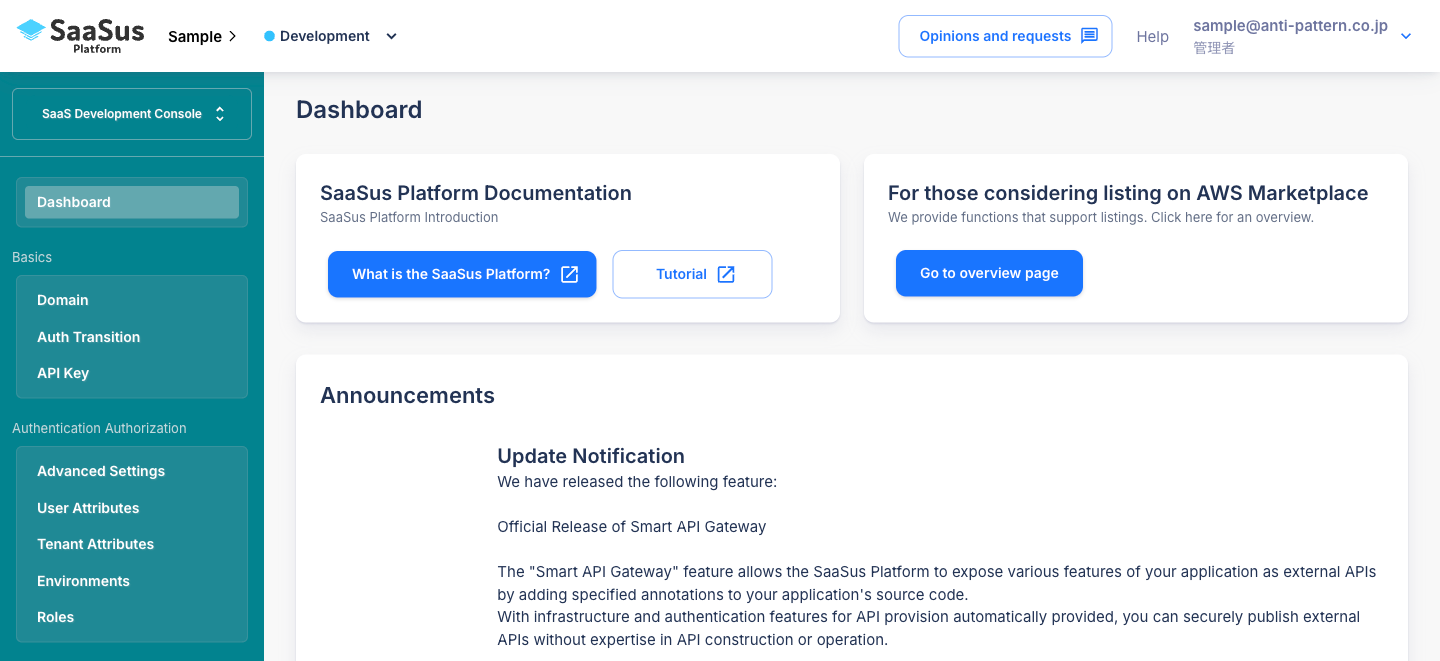
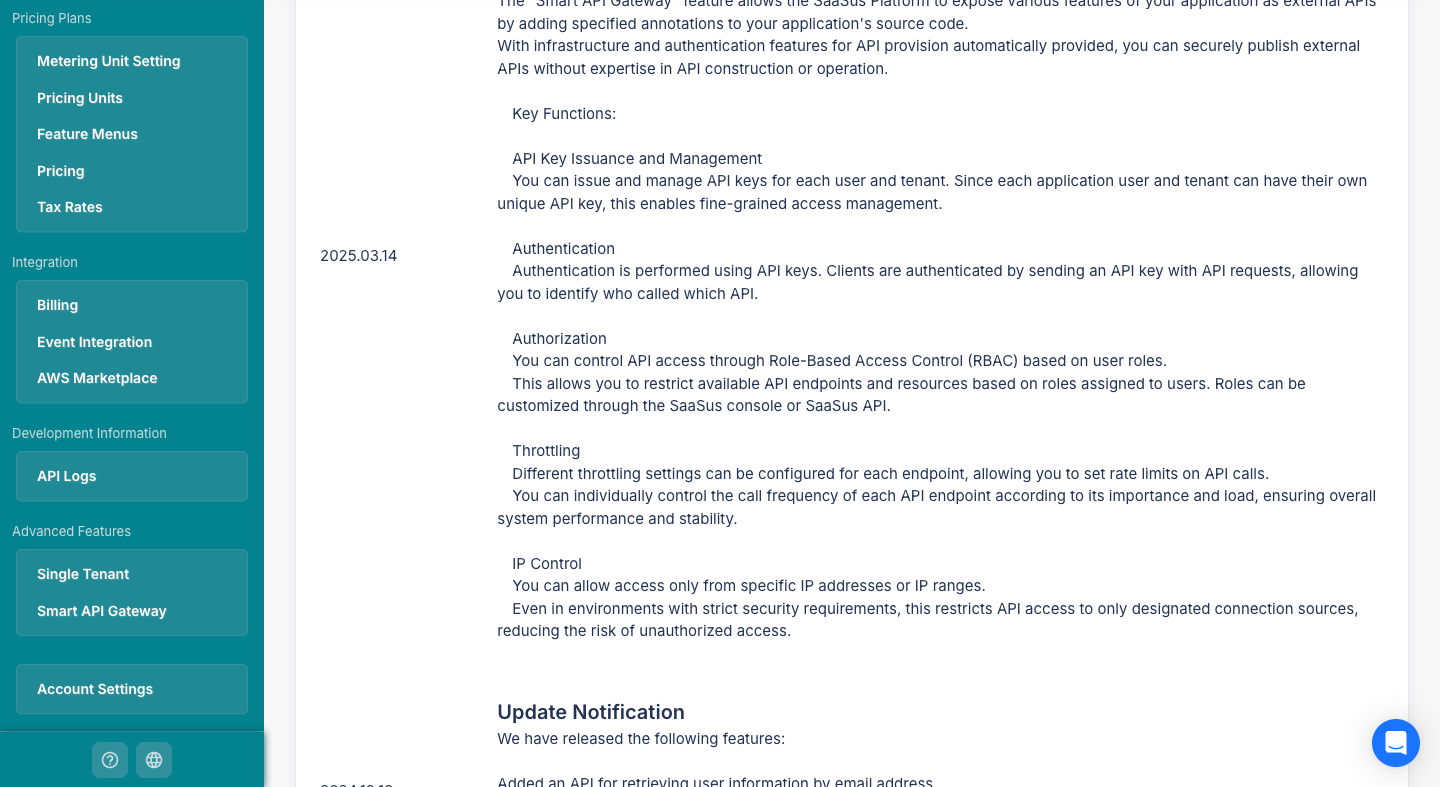
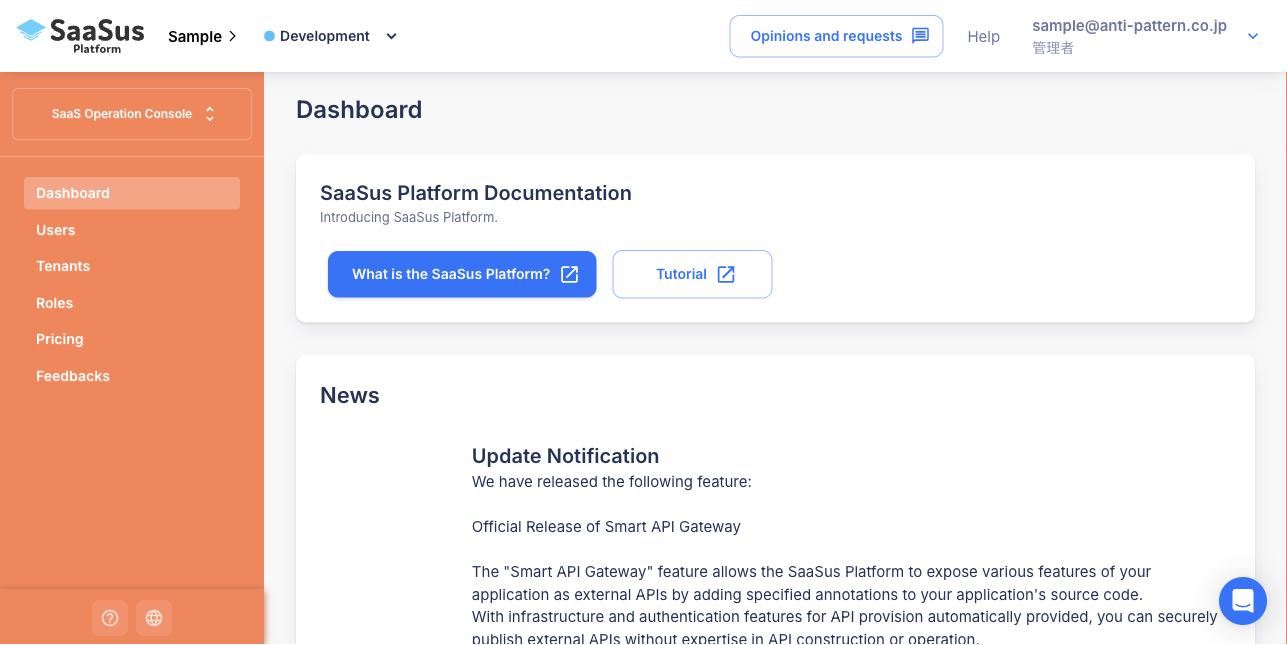
3. SaaS Development Console Screen
The SaaS Development Console allows you to configure the core structure of your SaaS application, set up authentication, define pricing plans, and configure external integrations.
4. SaaS Operation Console Screen
In the SaaS Operation Console, you can manage tenant users, review billing-related information, assign roles, and perform other daily operational tasks.
5. Switching Between Consoles
On the SaaSus Platform, you can easily switch between the SaaS Development Console and SaaS Operation Console using the dropdown in the upper left corner of the screen.

This switch allows you to instantly navigate to the interface required for your task.
6. Setting Up Multi-Factor Authentication (MFA)
-
Click the user menu at the top right of the SaaS Development Console or SaaS Operation Console.
-
Click
Multi-factor Authentication Setting. -
Click the
Add Devicebutton.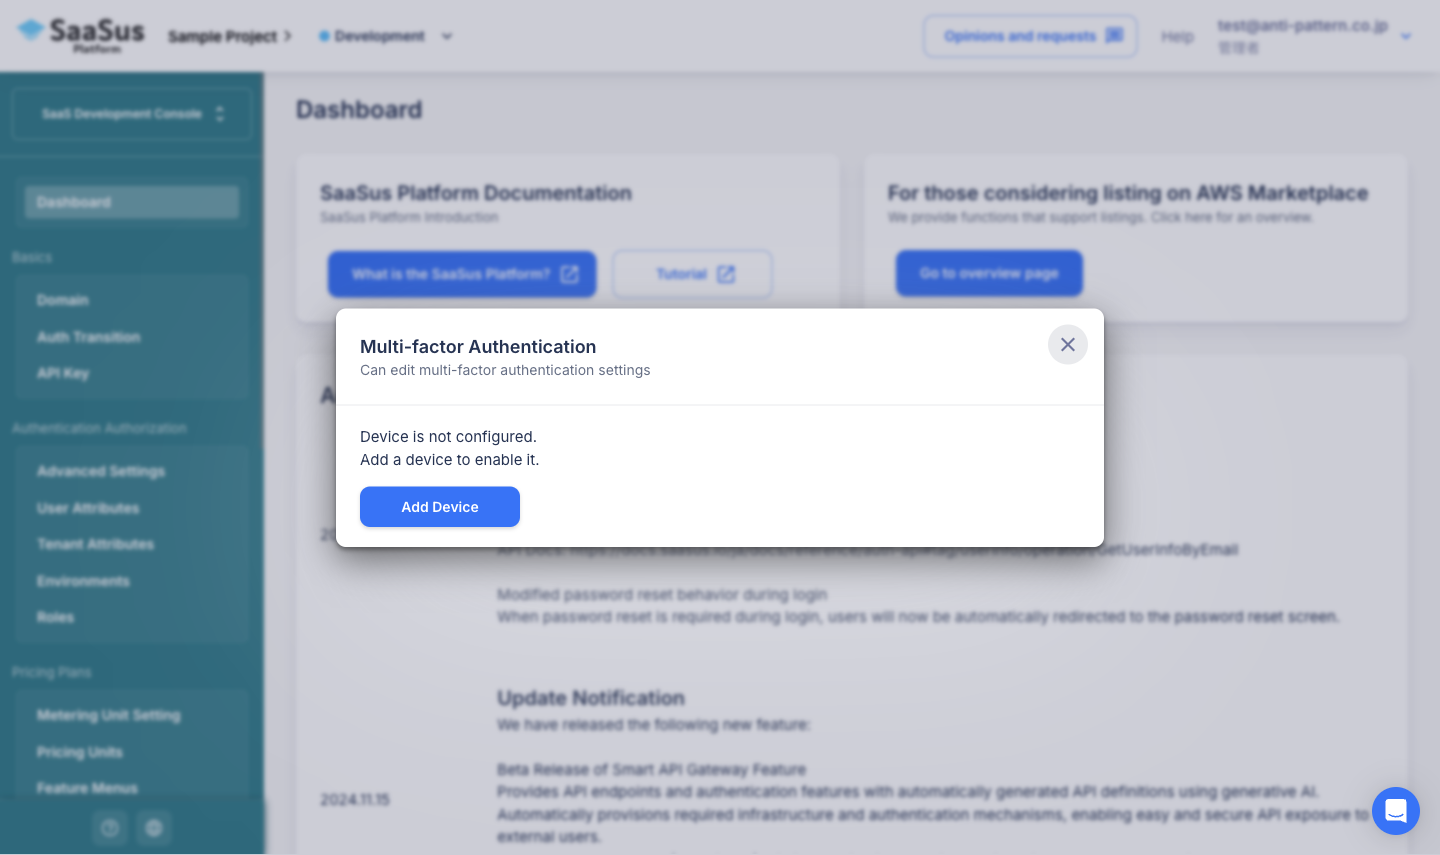
-
Click
Show QR Codeto display the QR code.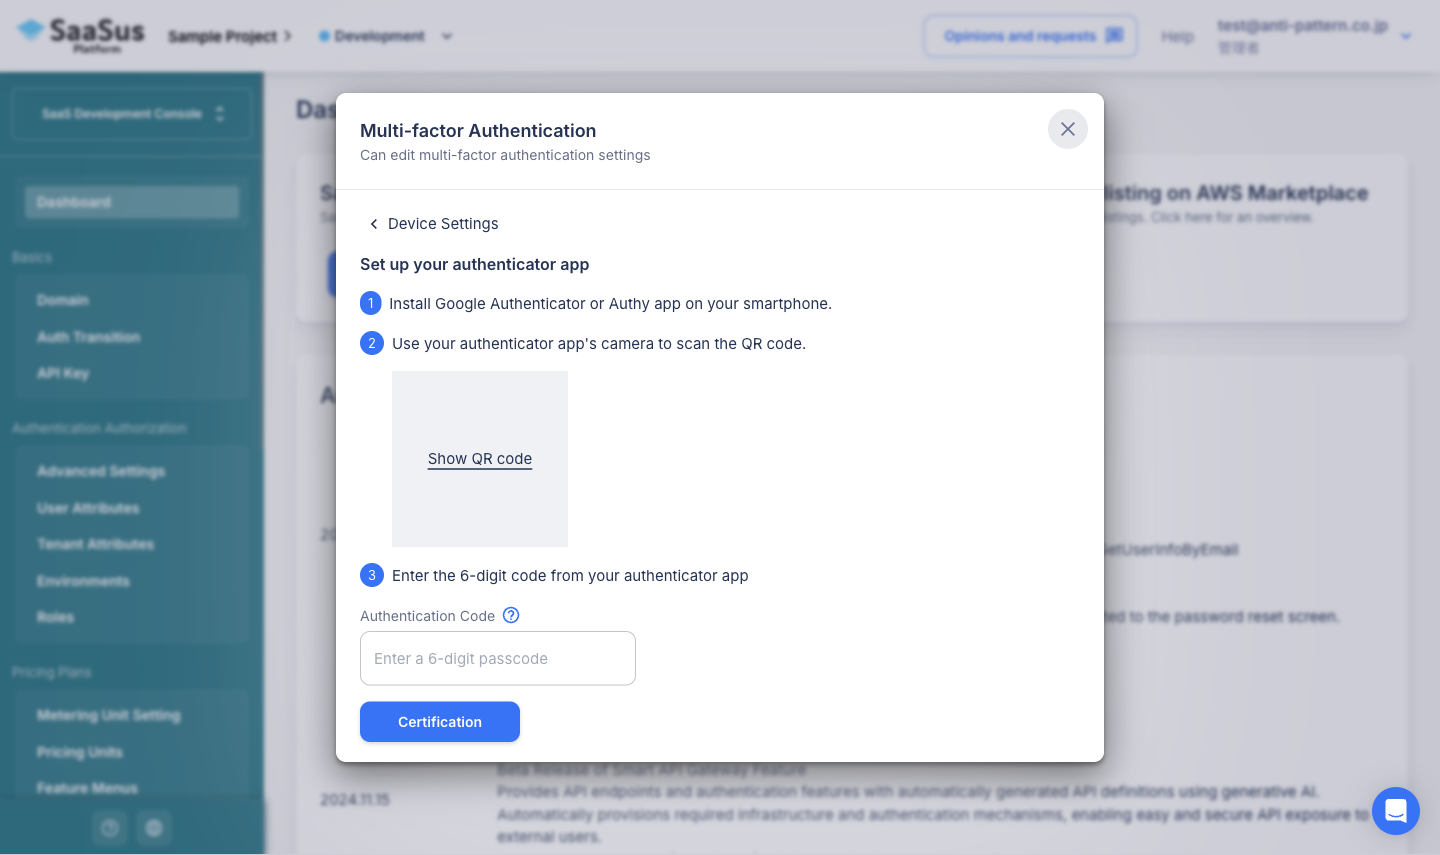
-
Scan the displayed QR code using the Google Authenticator or Authy app.
-
Enter the 6-digit code generated by the app and click
Certification. -
Once MFA is enabled, you will be required to enter a verification code during future logins.