Getting Started with SaaSus Platform
Getting Started
1. Create an Account and Log In
To use the SaaSus Platform, begin by registering for an account. The steps from account creation to login are outlined below.
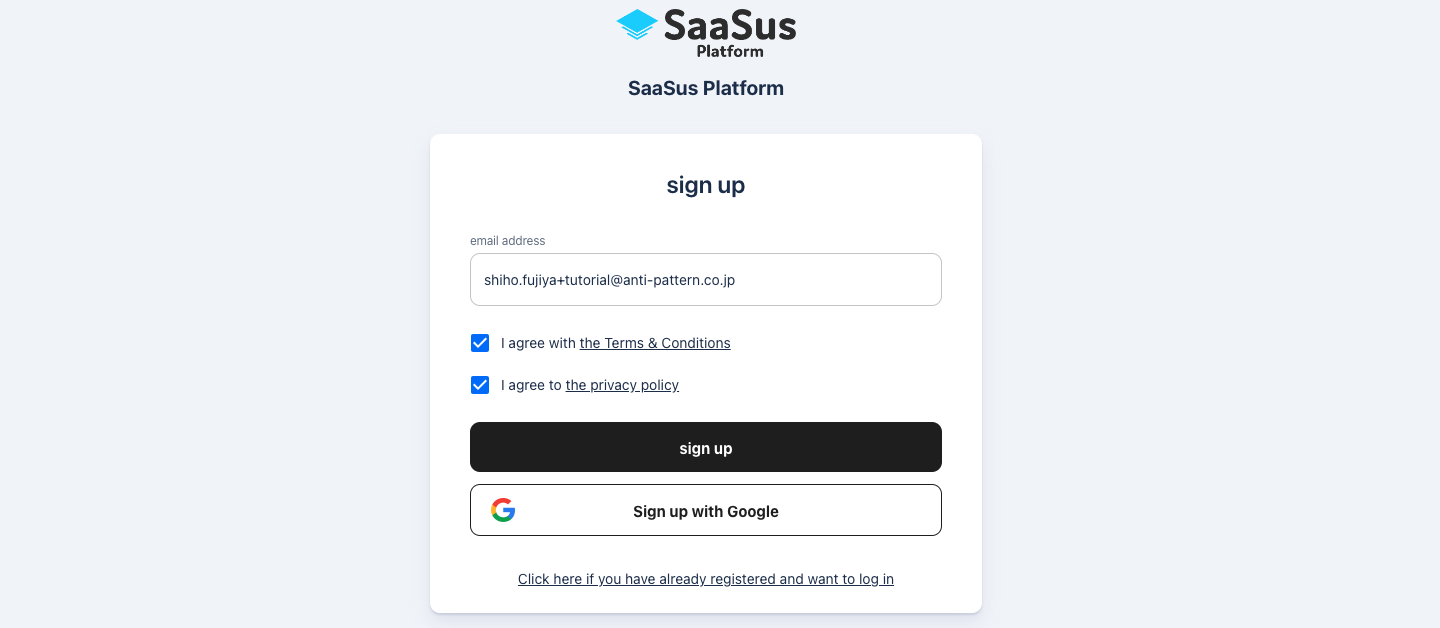
Create a New Account
- Go to https://auth.saasus.io/sign-up
- Enter the required information and click "sign up."
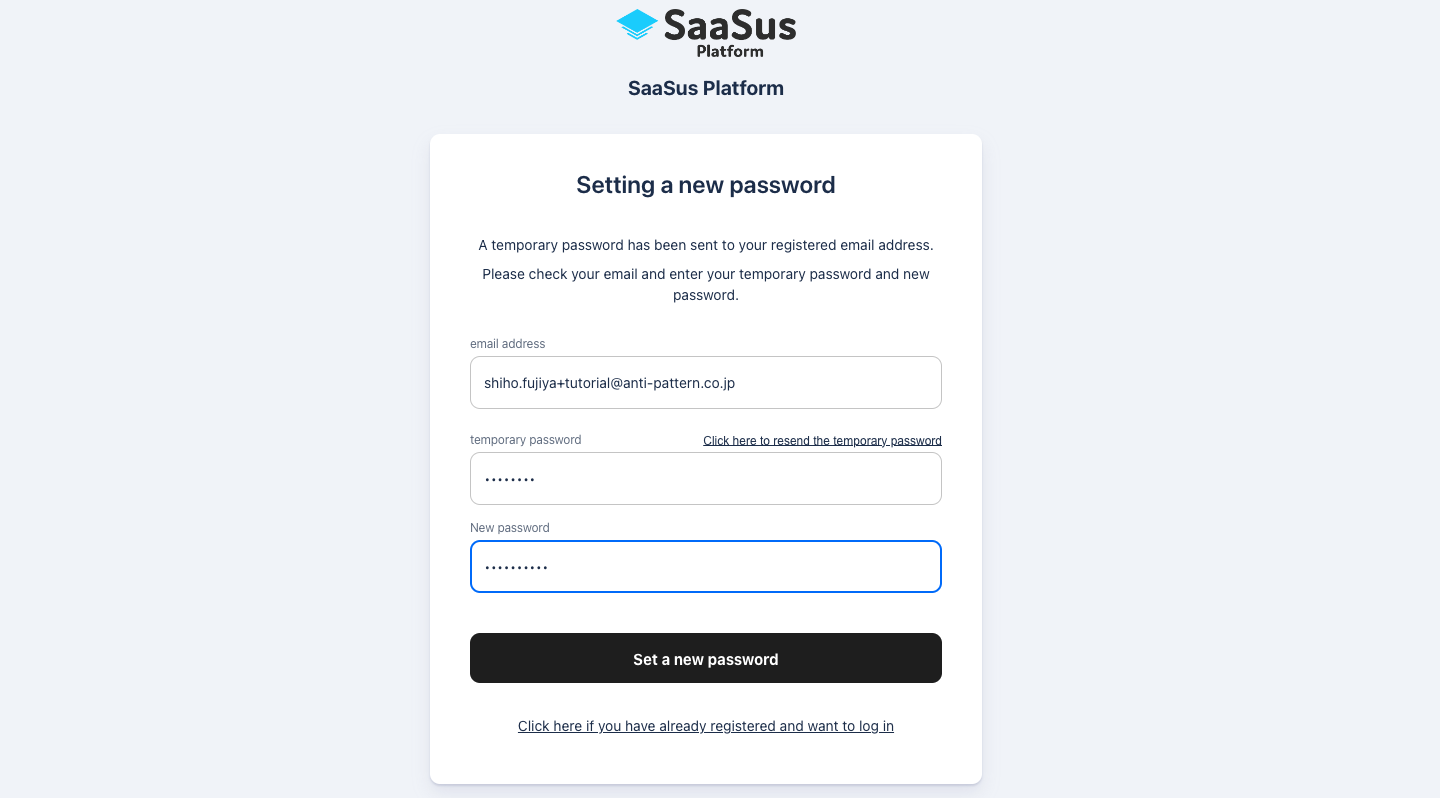
Email Verification
After registration, a temporary password will be sent to your registered email address. Enter the temporary password along with your new password and click "Set a new password" to activate your account.
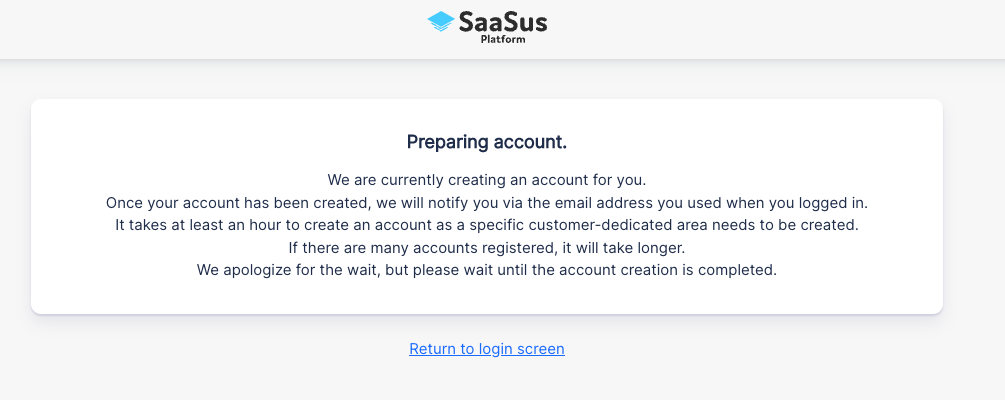
After First Login
When you first register on the SaaSus Platform, a dedicated tenant will be created for you. Since this involves creating a dedicated AWS account, it can take around an hour. Once setup is complete, a notification will be sent to your registered email.
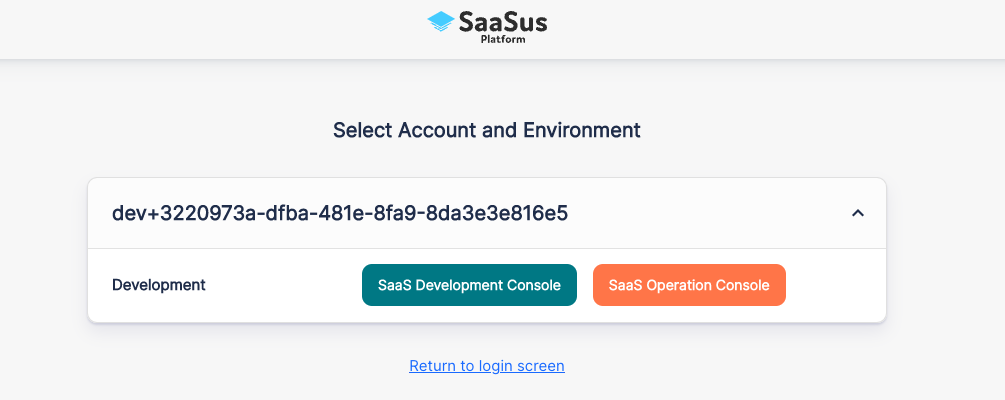
Initial Login After Tenant Creation
Once the tenant is ready and you log in, you will be prompted to enter your user profile information.
Information required:
- Company name
- Your name

After filling in the information and clicking "completion," you will be taken to a screen where you can select the tenant console.
2. System and Environment Requirements
The following environments are required to use the SaaSus Platform Console and to integrate via the API.
2.1 Requirements for Using the SaaSus Platform Console
-
Browser
- Google Chrome (latest version) Currently, only Chrome on macOS is officially supported.
-
Network
- Stable internet connection
2.2 Requirements for Using the API
-
Network
- Your application server must be able to connect to
https://api.saasus.iovia HTTPS (port 443).
- Your application server must be able to connect to
3. Preparing a Stripe Account and Integration
SaaSus Platform supports automated billing via Stripe. If needed, follow the steps below to configure integration.
-
Create a Stripe Account Create an account on Stripe’s official site and retrieve the "secret key" from your dashboard.
-
Integration Steps Open the "Integration > Billing" screen in the SaaS Development Console and register the secret key. This will enable automated billing based on the rate plans you've defined.
4. Basic Workflow Before Going Live
Follow these 4 steps to complete setup and prepare for production use after adopting SaaSus Platform.
-
Create an account and log in Complete account registration and tenant setup as described above, and log in to the SaaSus Platform Console.
-
Configure your SaaS app’s basic information Set up your app name, domain, redirect URL, terms of use, etc., in the Basic App Settings. You can also configure rate plans and attribute settings via the SaaS Development Console.
-
Integrate the SDK and test resource creation Refer to Developer SDK/API Overview to test authentication, tenant creation, user creation, and more.
-
Verify settings in the SaaS Operation Console Refer to the SaaS Operation Console Overview to confirm that tenant management, user and tenant attributes, and rate plan settings are correctly reflected.
If you’re unsure about any of the above steps, refer to the Tutorial Introduction.