Express
Incorporating an Authentication Module
Integrate the authentication module provided by the SaaSus Platform.
In this application, all URI routes will require authentication. If a user is not authenticated, they will not be able to access the application.
Currently, authentication is handled in api/app.ts.
You will replace the existing authentication logic with the one provided by SaaSus.
app.use(
  session({
    secret: "secret",
    resave: false,
    saveUninitialized: false,
  })
);
app.use(passport.initialize());
app.use(passport.session());
change
import { AuthMiddleware } from "saasus-sdk";
...
// app.use(
//   session({
//     secret: "secret",
//     resave: false,
//     saveUninitialized: false,
//   })
// );
app.use(
  ["/chat", "/api/board", "/api/post", "/api/plan", "/api/tenant"],
  AuthMiddleware
);
// app.use(passport.initialize());
// app.use(passport.session());
Removing Individual Authentication Logic
In Express, individual authentication logic was implemented for each route. These need to be removed.
Modify api/routes/chat.ts.
router.get(
  "/",
  (req: Request, res: Response, next: NextFunction) => {
    if (req.isAuthenticated()) {
      next();
    } else {
      res.redirect(302, "/login");
    }
  },
  getChats
);
change
router.get("/", getChats);
Implementing the Callback URL Handler
Earlier, you defined the callback destination in the SaaS Development Console as http://localhost/callback, so configure the app to receive it at /callback.
Edit api/app.ts.
In Express, middleware and routes are processed in registration order, so if the 404 handler is registered first, requests to /callback return a 404 error and login fails.
Add the following below import { router as tenantRouter } from "./routes/tenant";:
import { router as callbackRouter } from "./routes/callback";
Add the following below app.use("/login", loginRouter);:
app.use("/callback", callbackRouter);
To handle GET requests to /callback, create api/routes/callback.ts and use the CallbackRouteFunction provided by the SaaSus SDK.
import express from "express";
const router = express.Router();
import { CallbackRouteFunction } from "saasus-sdk";

router.get("/", CallbackRouteFunction);

export { router };
Create views/callback.ejs as the screen to display after login (in this case, it will redirect to /chat).
<!DOCTYPE html>
<html>
  <head>
    <meta charset="utf-8" />
    <meta name="viewport" content="width=device-width, initial-scale=1" />

    <title>Auth Callback</title>
  </head>

  <body>
    <script>
      location.href = "/chat";
    </script>
  </body>
</html>
Once everything is set up, the authentication information configured in the SaaSus Platform will be passed as part of the request when it reaches your application's controller.
Inside the getChats method in api/controllers/chat.ts, use console.log to check if userinfo is present in req.
Add the following below const getChats = async (req: Request, res: Response) => {:
const getChats = async (req: Request, res: Response) => {
  // Check whether user information is being passed from SaaSus Platform
  console.dir(req.userInfo,{depth:null});
Up to this point, we have established the basics of collaboration.
Log in from SaaSus Platform and check the operation.
Verify SaaSus SDK integration
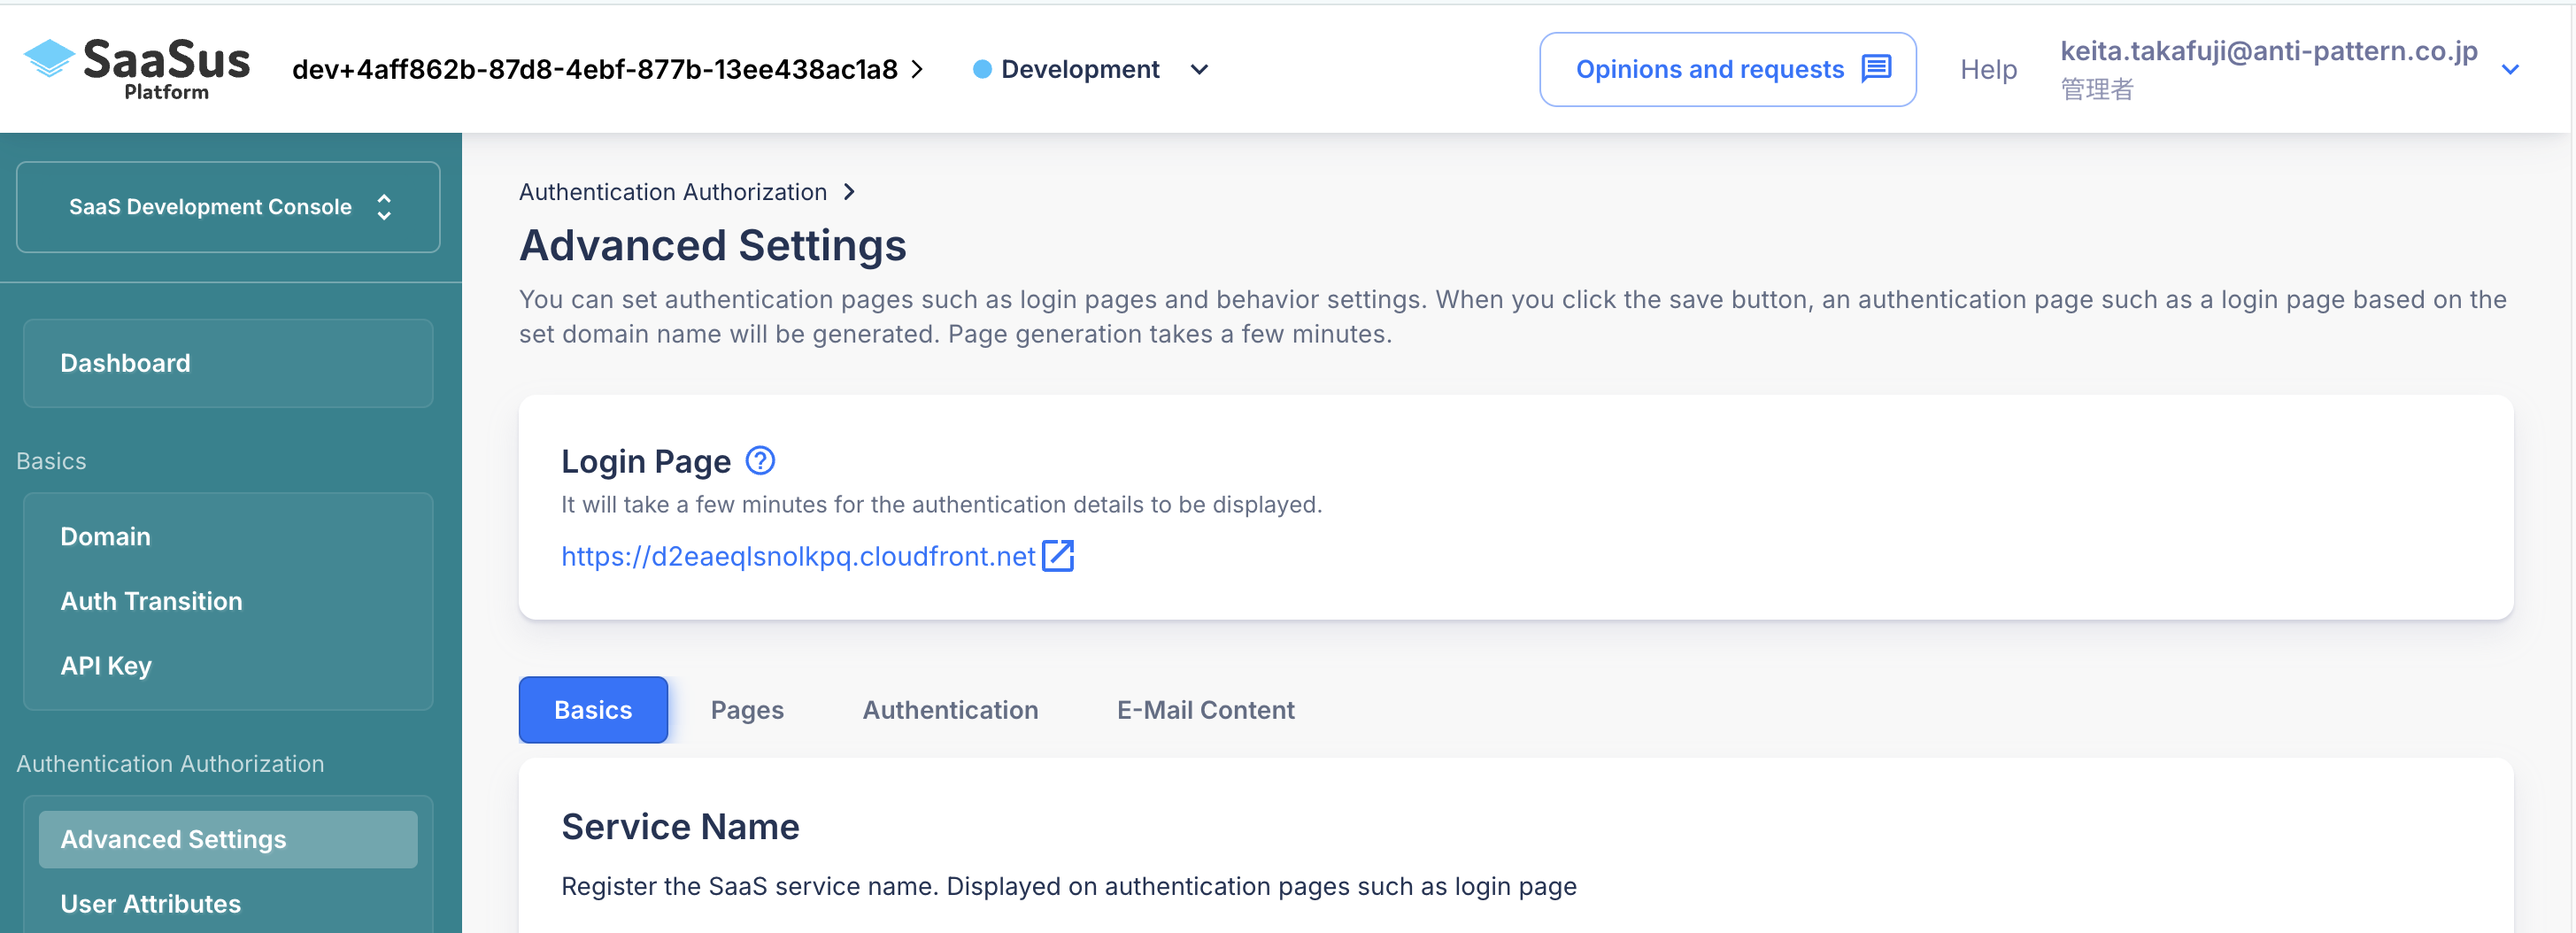
Display the login screen created with SaaSus Platform.
You can find the login screen URL in the "Authentication Details" section of the side menu.

When you log in with the user email address and password you created earlier, you will be redirected to the URL you set in Callback URL along with your credentials.
For example, let's log in as user1-1@example.com.
First run the following command in the terminal to enable log output, then proceed to log in.
docker compose logs -f
{
  email: 'user1-1@example.com',
  id: '951fe2e3-b89b-40cf-95db-2fc11f09cbdf',
  tenants: [
    {
      back_office_staff_email: 'saasus-sample-tenant1@example.com',
      completed_sign_up: true,
      envs: [
        {
          id: 3,
          name: 'prod',
          roles: [ { display_name: 'General User', role_name: 'user' } ]
        }
      ],
      id: '2d76c5ed-8462-4de0-b107-97bb97b7e9e2',
      is_paid: true,
      name: 'Tenant Sample 1',
      plan_id: 'ddb8b9e9-5fe4-48cc-846e-b9031552877a',
      user_attribute: { username: 'user1-1' }
    }
  ],
  user_attribute: {}
You can see that the user information and tenant information that were set in SaaSus Platform earlier can be obtained on the application side.
The redirect destination URL is now received by the SaaSus SDK standard Callback process (http://localhost/callback), and in that process, the browser's Local Storage or remember authentication information in a cookie.
Then, the SaaSus SDK's Auth Middleware uses the SaaSus Platform to verify the authentication information, retrieve the user information, and pack it into the Request object.
Processing then moves to the application's controller, so at this point the application already has information about the logged-in person.
Now, let's use this information to make our bulletin board application multi-tenant-enabled.
Multi-tenancy of sample application
api/controllers/chat.ts is the main process, so let's add the process to make it multi-tenant compatible here.
First, change the display part. Let's rewrite the whole part below.
const getChats = async (req: Request, res: Response) => {
  try {
    const messages = await db.Messages.findAll({
      where: {
        // Use the tenant information stored in req.userInfo
        tenant_id: req.userInfo?.tenants[0].id,
      },
    });
    res.render("chat", {
      messages: messages,
      plans: PLANS,
      tenant_name: req.userInfo?.tenants[0].name,
    });
  } catch (error) {
    console.error(error);
    res.redirect("/chat");
  }
};
In this way, the DB will be searched based on the tenant ID that has been passed.
Next is the posting part.
const postChats = async (req: Request, res: Response) => {
  const mes = req.body.message;
  // Get tenant and user information from req.userInfo and use it
  const tenantId = req.userInfo?.tenants[0].id || "";
  const userName =
    req.userInfo?.tenants[0].user_attribute.username;
  try {
    await db.Messages.create({
      tenant_id: tenantId,
      user_id: userName,
      message: mes,
    });
  } catch (error) {
    console.error(error);
  }
  res.redirect("/chat");
};
Based on the passed user attributes, the tenant ID and user name are stored as a set.
Multi-tenant support is now possible.
Now, let's log in and try it out.
As before, log in from the login screen created with SaaSus Platform.
When you log in, you will see that the tenant name has changed to the one you set earlier in the SaaS Development Console.
I don't have any data yet, so I'll post some.

I have confirmed that the username is also displayed.
Now go back to the login screen, log in as user1-2@example.com, and try posting some posts.
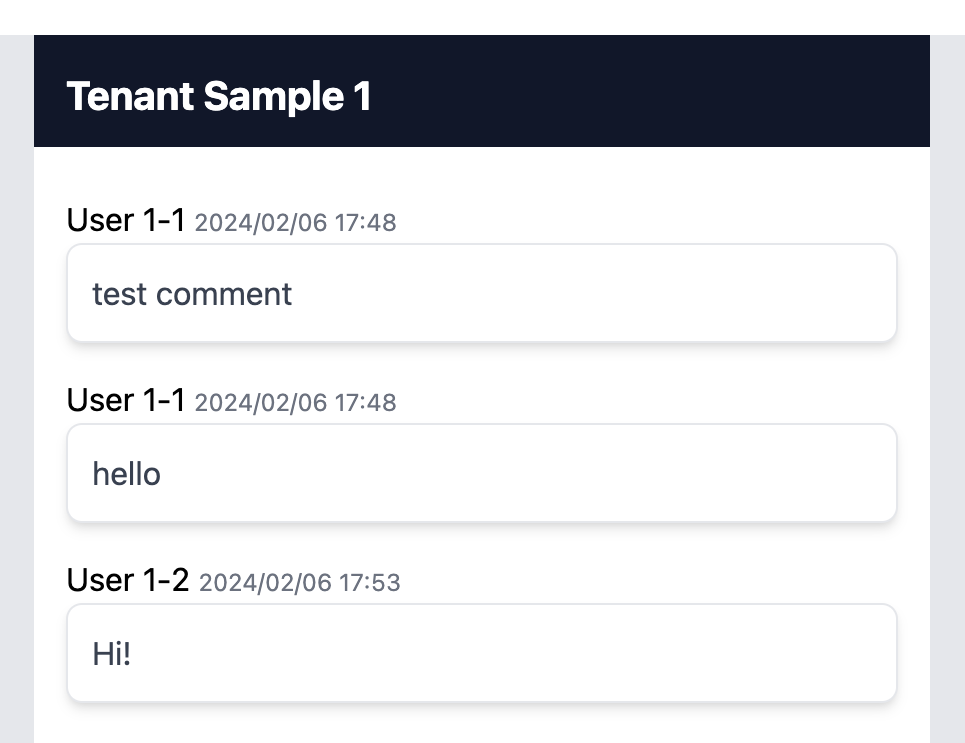
Of course it will be reflected on the screen.
Now, let's log in as the user of the other tenant user2-1@example.com.
You can see that the tenant name display has changed and the contents are now empty.
I have confirmed that I can only access information for my own tenant.
Now, after making a few posts in the same way, log in as user2-2@example.com and check that you can display information for the same tenant.
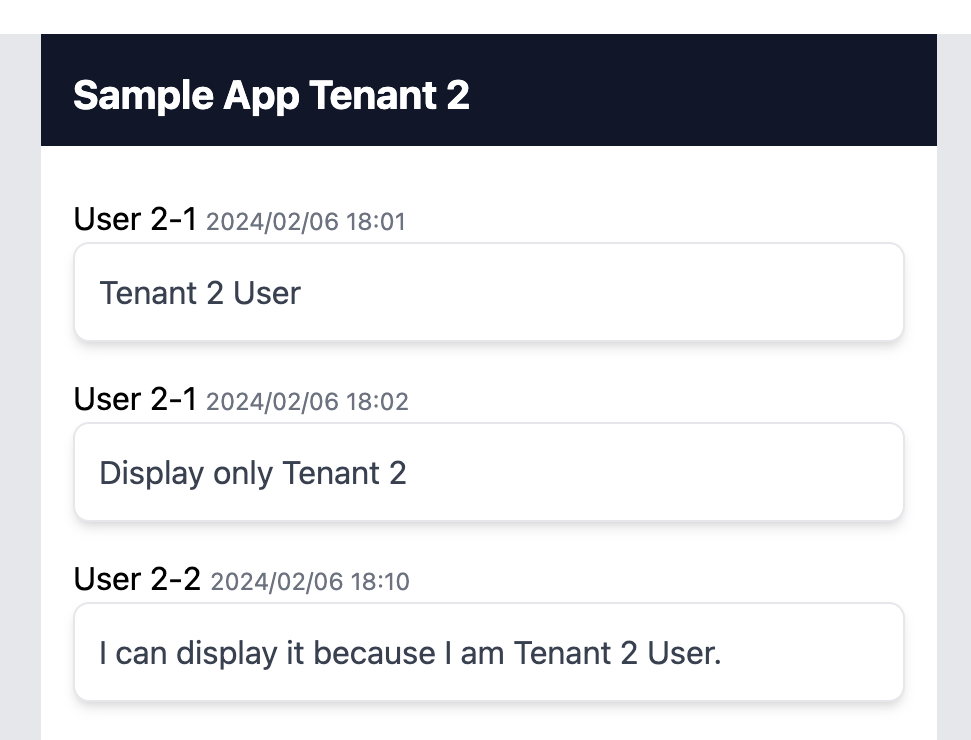
In this way, separation of each tenant is completed.
As for the separation method this time, we used a pool type model to perform separation within the same DB and perform tenant separation using a simple method. Even if you select a tenant separation method according to your requirements, such as schema separation or database separation, you can similarly obtain and implement tenant information using the SaaSus SDK.