SAML連携機能
概要
SAML(Security Assertion Markup Language)連携機能により、外部のアイデンティティプロバイダーを通じてSaaSアプリケーションのユーザー認証を行うことができます。
これにより、テナントがシングルサインオン(SSO)機能を利用し、既存のアイデンティティ管理システムを使用できるようになります。
設定手順
SaaSus Platform のSAML連携機能は、SAML 2.0に対応した様々なIDプロバイダーと連携できます。
ここでは連携先の代表例として、Microsoft Entra IDを利用した設定手順を説明します。
他のIDプロバイダーをご利用の場合でも、基本的な概念と設定項目は共通しています。
1. Entity ID/Reply URLを取得
APIを実行しEntity ID(identity_provider_configuration.entity_id)/Reply URL(identity_provider_configuration.reply_url)を取得します
https://docs.saasus.io/docs/reference/auth-api#tag/authInfo/operation/GetSignInSettings
{
    "identity_provider_configuration": {
        "domain": "xxxxxxxxxxxx.auth.ap-northeast-1.amazoncognito.com",
        "entity_id": "urn:amazon:cognito:sp:ap-northeast-1_xxxxxxxxxxxx",
        "redirect_url": "https://xxxxxxxxxxxx.auth.ap-northeast-1.amazoncognito.com/oauth2/idpresponse",
        "reply_url": "https://xxxxxxxxxxxx.auth.ap-northeast-1.amazoncognito.com/saml2/idpresponse"
    }
}
2. Microsoft Entra IDの設定
Microsoft Entra IDを利用してSAML連携を行うための設定を行います。以下の手順に従ってください。
-
Microsoft Entra IDにログイン
Microsoft Entra 管理センター -
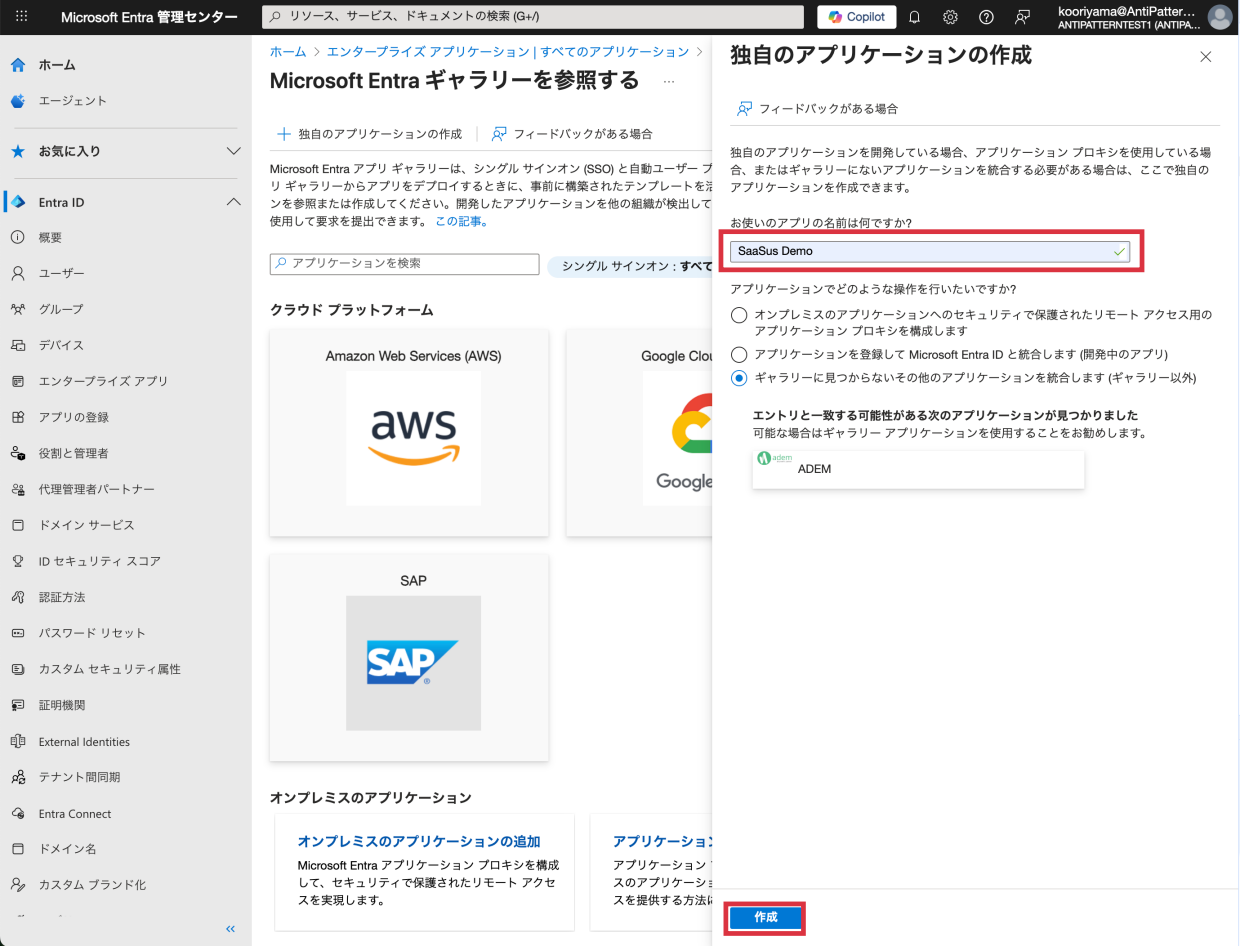
新しいアプリケーションを作成
Entra ID > エンタープランズ アプリ を選択し新しいアプリケーションをクリック

-
アプリケーションの名前を設定し、
作成をクリックします。
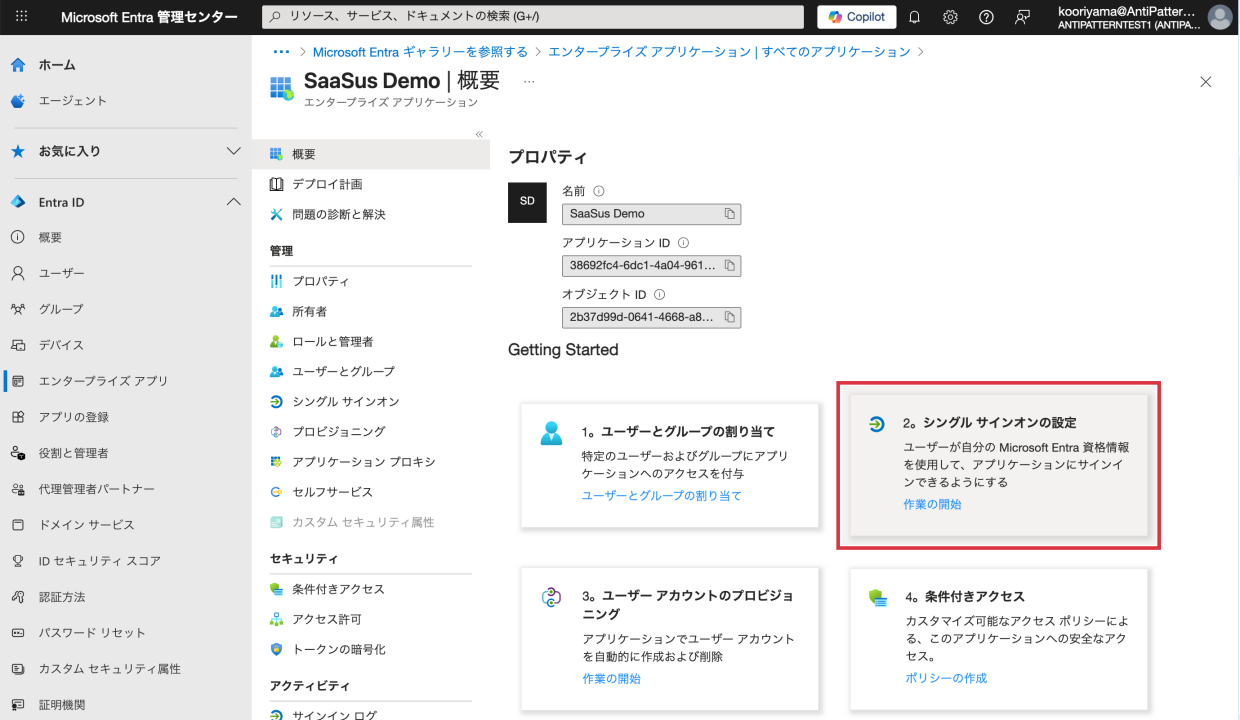
-
シングルサインオンを選択します。
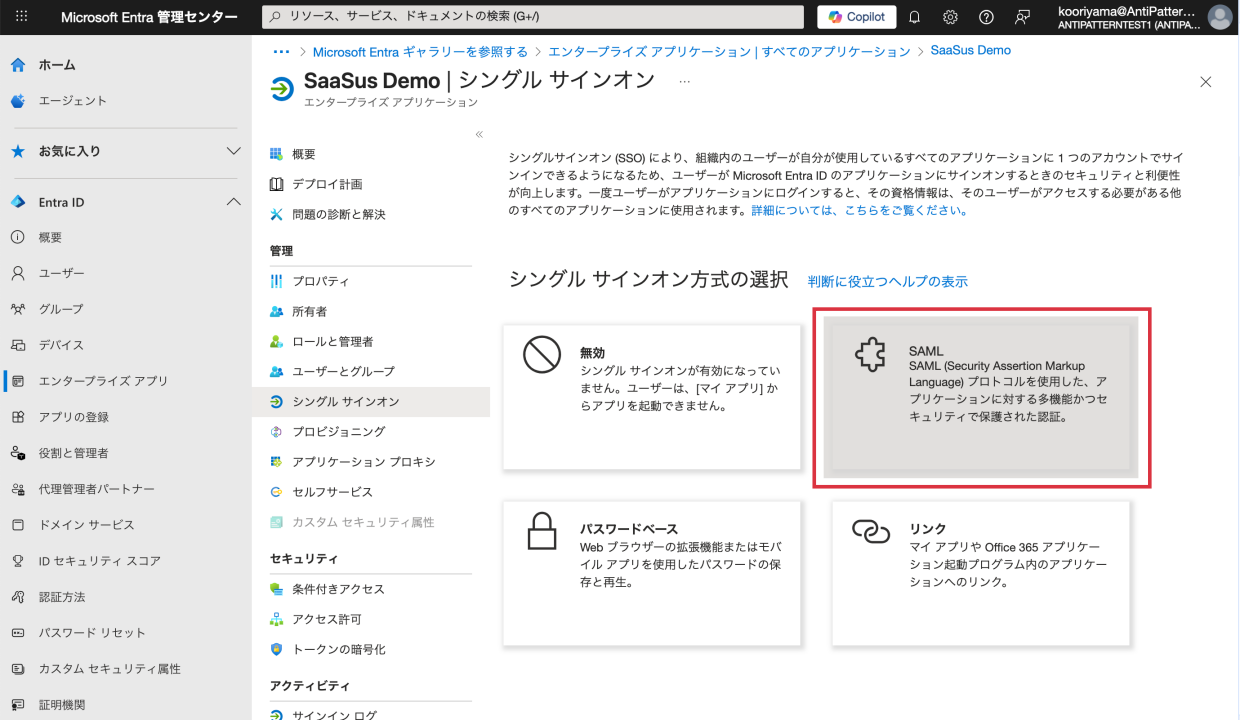
-
SAMLを選択します。
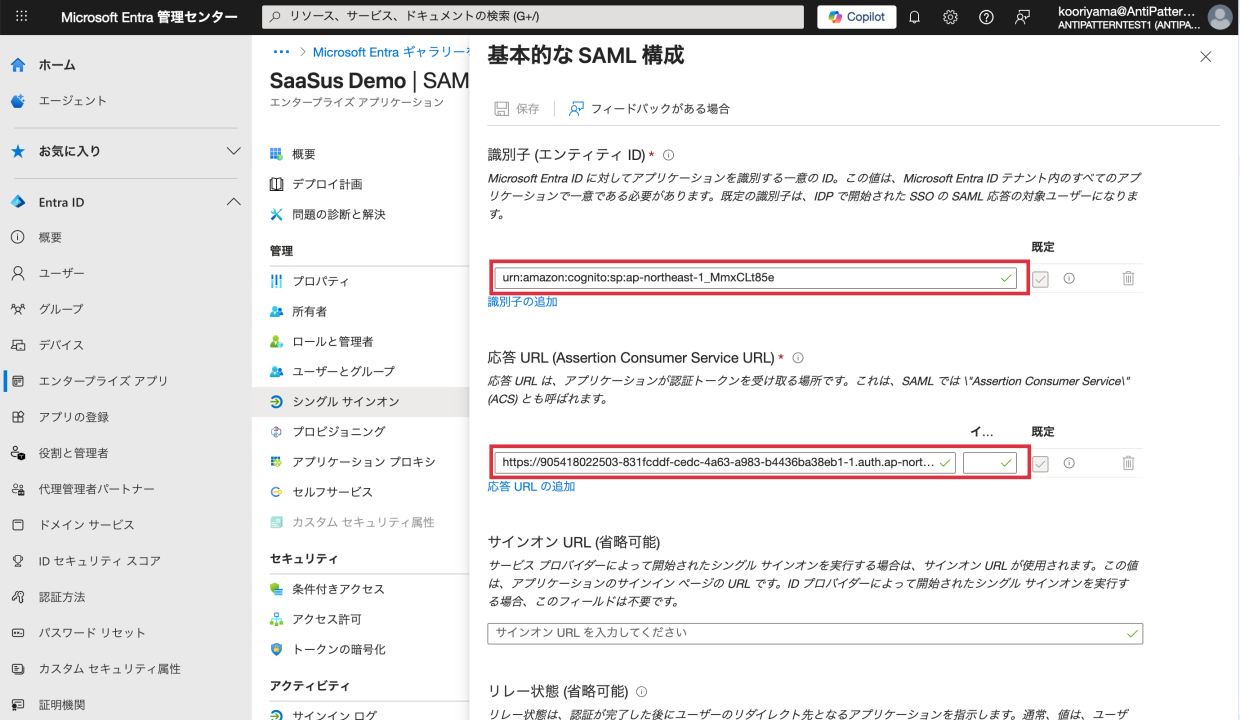
-
基本的な SAML 構成を編集し、以下の情報を入力します
- 識別子 (エンティティ ID): 先ほど取得したEntity IDを入力します。
- 応答 URL: 先ほど取得したReply URLを入力します。
-
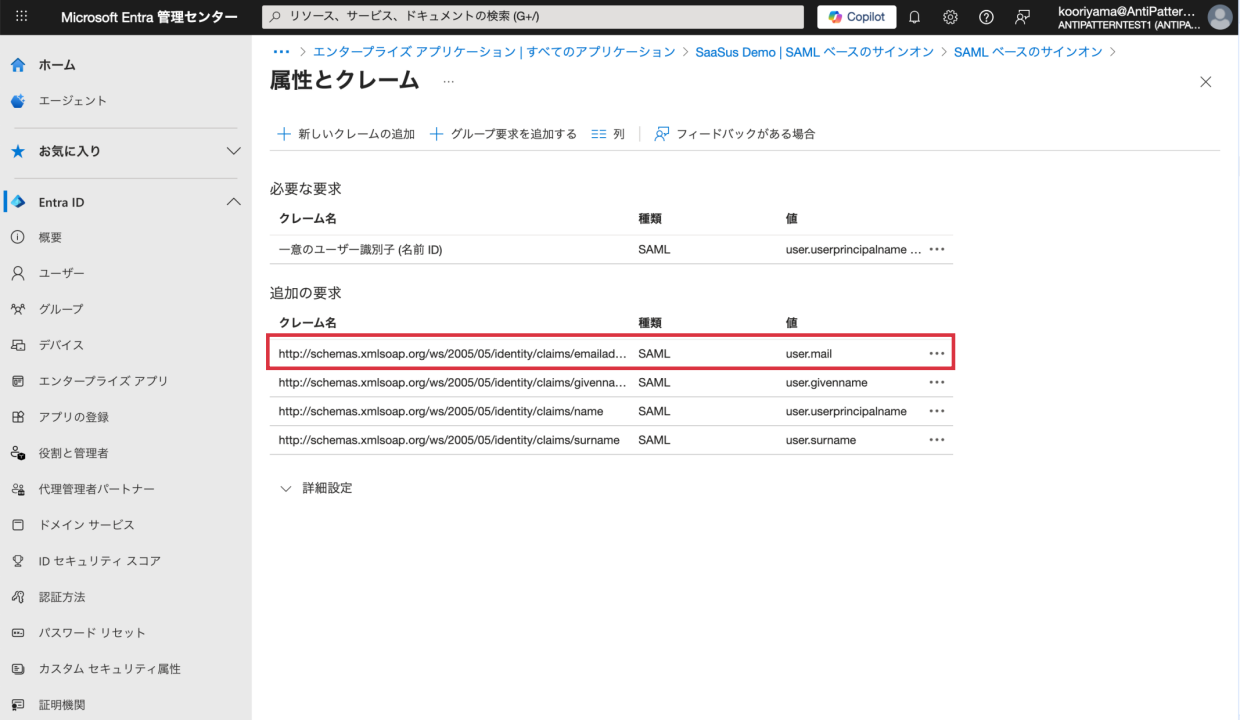
属性とクレームの設定で、
user.mailに設定されているクレーム名を控えます。
-
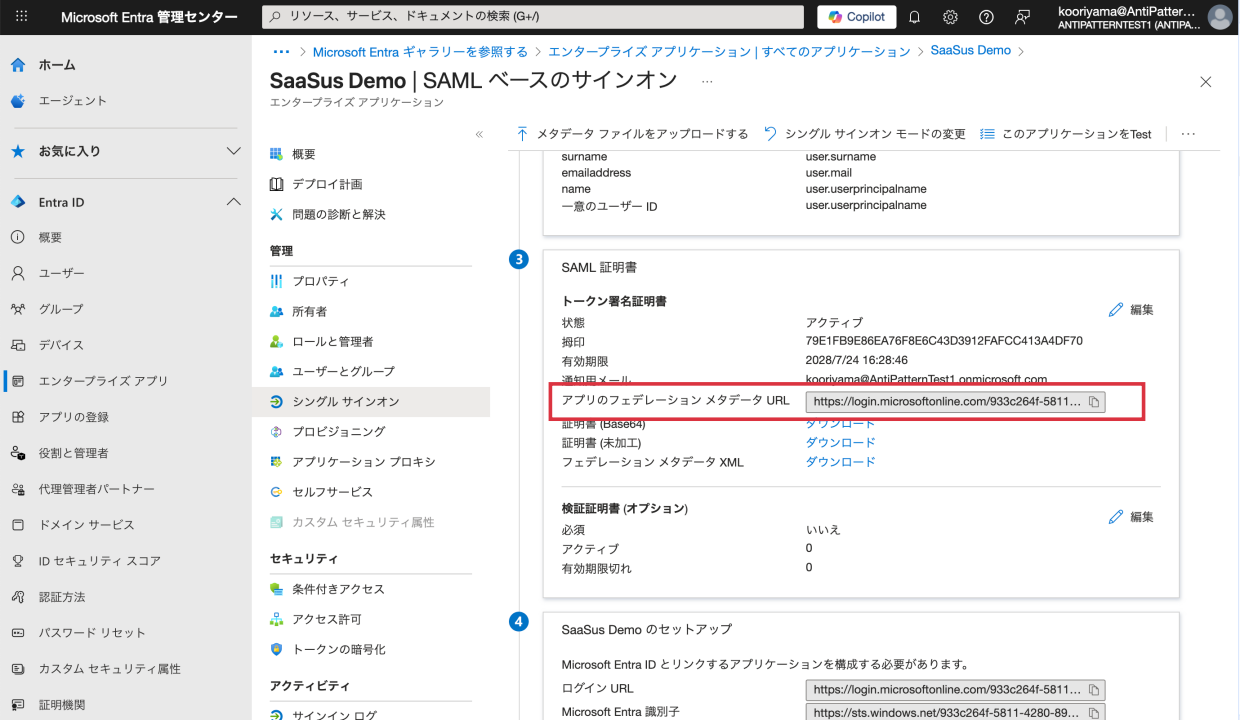
SAML 証明書の
アプリのフェデレーション メタデータ URLを控えます。
3. SaaSus Platformへの設定
SaaSus APIを利用して、SAML連携の設定を行います。
以下の情報をAPIに渡して、SAML連携を設定します。
- provider_type: "SAML"
- metadata_url: Microsoft Entra IDのアプリのフェデレーション メタデータ URL
- email_attribute: Microsoft Entra IDで控えたクレーム名(例:
http://schemas.xmlsoap.org/ws/2005/05/identity/claims/emailaddress)
API: https://docs.saasus.io/docs/reference/auth-api#tag/tenant/operation/UpdateTenantIdentityProvider
{
  "provider_type": "SAML",
  "identity_provider_props": {
    "metadata_url": "https://login.microsoftonline.com/xxxx-xxxx-xxxxx-xxxx-xxxx/federationmetadata/2007-06/federationmetadata.xml?appid=xxxx-xxxx-xxxxx-xxxx-xxxx",
    "email_attribute": "http://schemas.xmlsoap.org/ws/2005/05/identity/claims/emailaddress"
  }
}
4. SAML連携の動作確認
-
SaaSus にログインユーザの作成
SaaS運用 コンソールから、SAML連携を利用するテナントへユーザーを作成し役割を割り当てます。
ユーザーのメールアドレスは、Microsoft Entra IDで設定したメールアドレスと一致させる必要があります。 -
sign_in_urlの確認
SaaSus APIを利用して、sign_in_urlを取得します。
API: https://docs.saasus.io/docs/reference/auth-api#tag/tenant/operation/GetTenantIdentityProviders
{
    "saml": {
        "email_attribute": "http://schemas.xmlsoap.org/ws/2005/05/identity/claims/emailaddress",
        "metadata_url": "https://login.microsoftonline.com/xxxx-xxxx-xxxxx-xxxx-xxxx/federationmetadata/2007-06/federationmetadata.xml?appid=xxxx-xxxx-xxxxx-xxxx-xxxx",
        "sign_in_url": "https://auth.implementation-sample2.sandbox.dev.saasus.io/sign-in/saml/6PcH3PYyte8ZTDZ65ul5jE"
    }
}
-
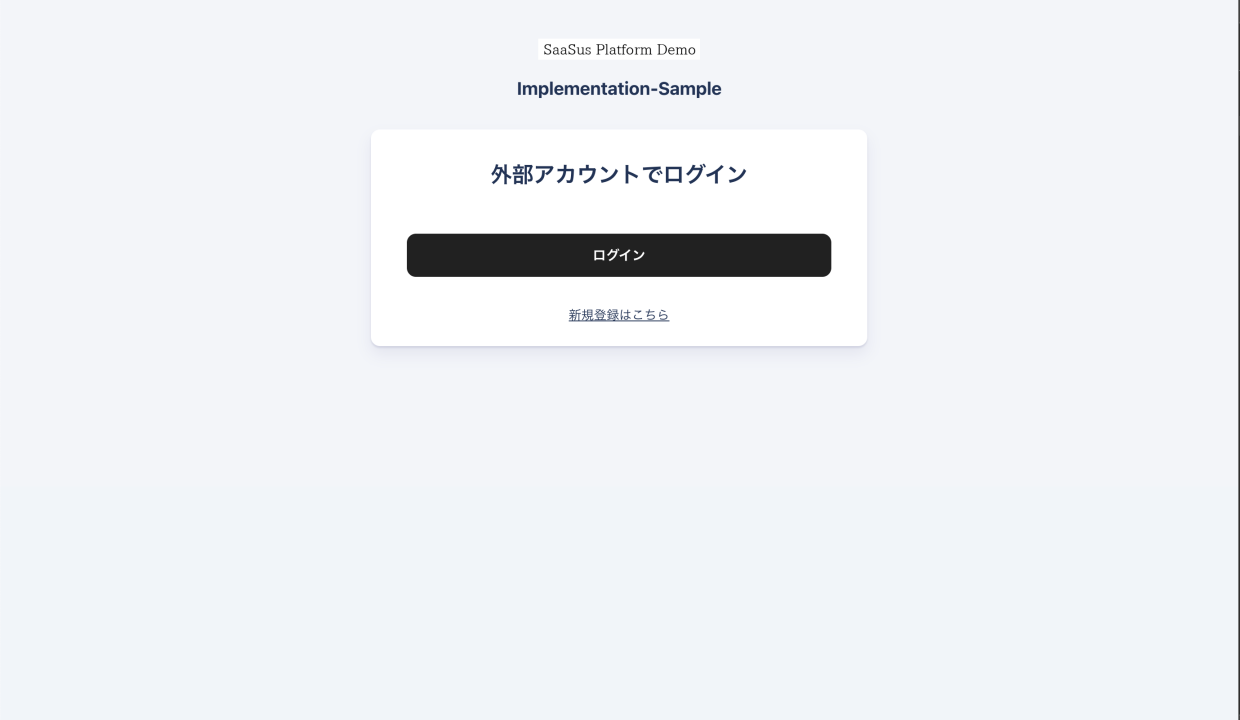
外部アカウントでのログイン画面
取得したsign_in_urlにアクセスし��ます。
-
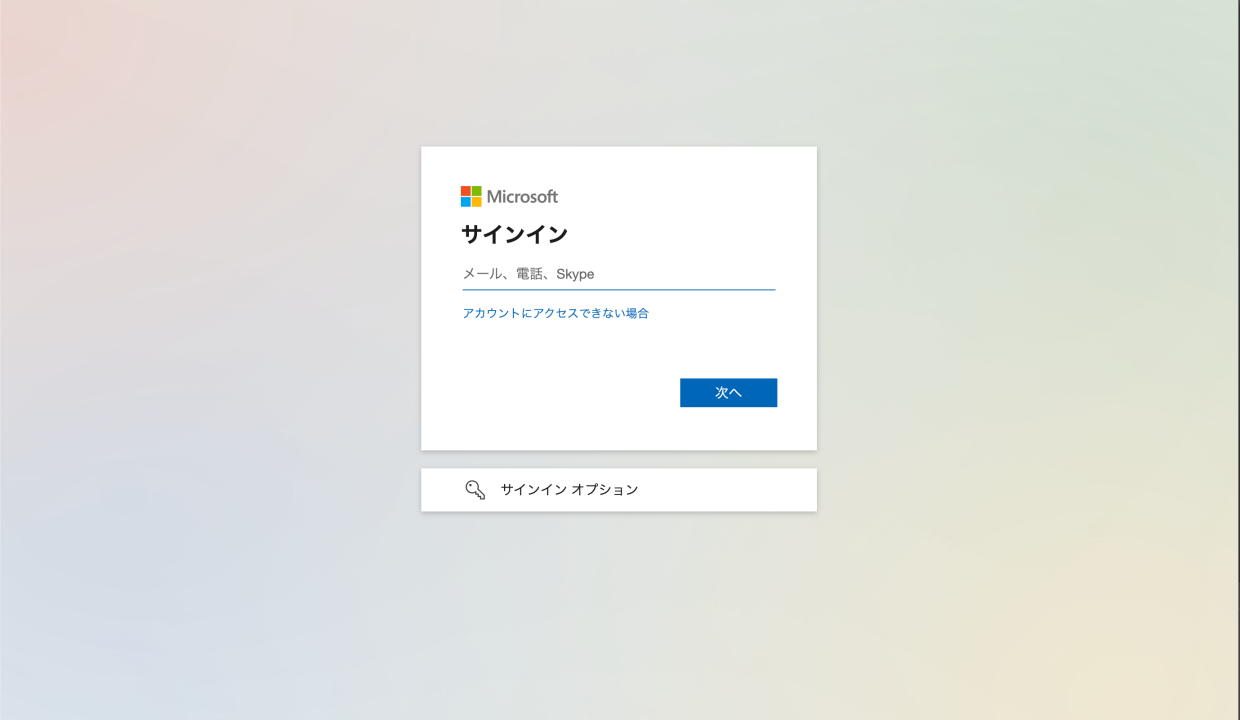
Microsoft Entra IDでログイン
Microsoft Entra IDのログイン画面で、ユーザー名とパスワードを入力してログインします。
ログインが成功すると、SaaSにリダイレクトされます。
メモ
ユーザーグループの設定
Microsoft Entra ID ではユーザーとグループ機能にて、SAML認証を利用するユーザーをグループに割り当てることができます。
これにより、特定のグループに属するユーザーのみがSaaSアプリケーションにアクセスできるように制御できます。
Microsoft Entra 管理センター > エンタープライズ アプリ > 作成したアプリケーション > ユーザーとグループ から、SaaSus Platformにアクセスするユーザーをグループに割り当てます。